I started this topic as not video game related but you can still post pictures or descriptions of video game projects.
The intention of this topic is for people to post their projects (pictures encouraged). You can post house projects, programming, console repairs, art projects, anything you’ve been working on.
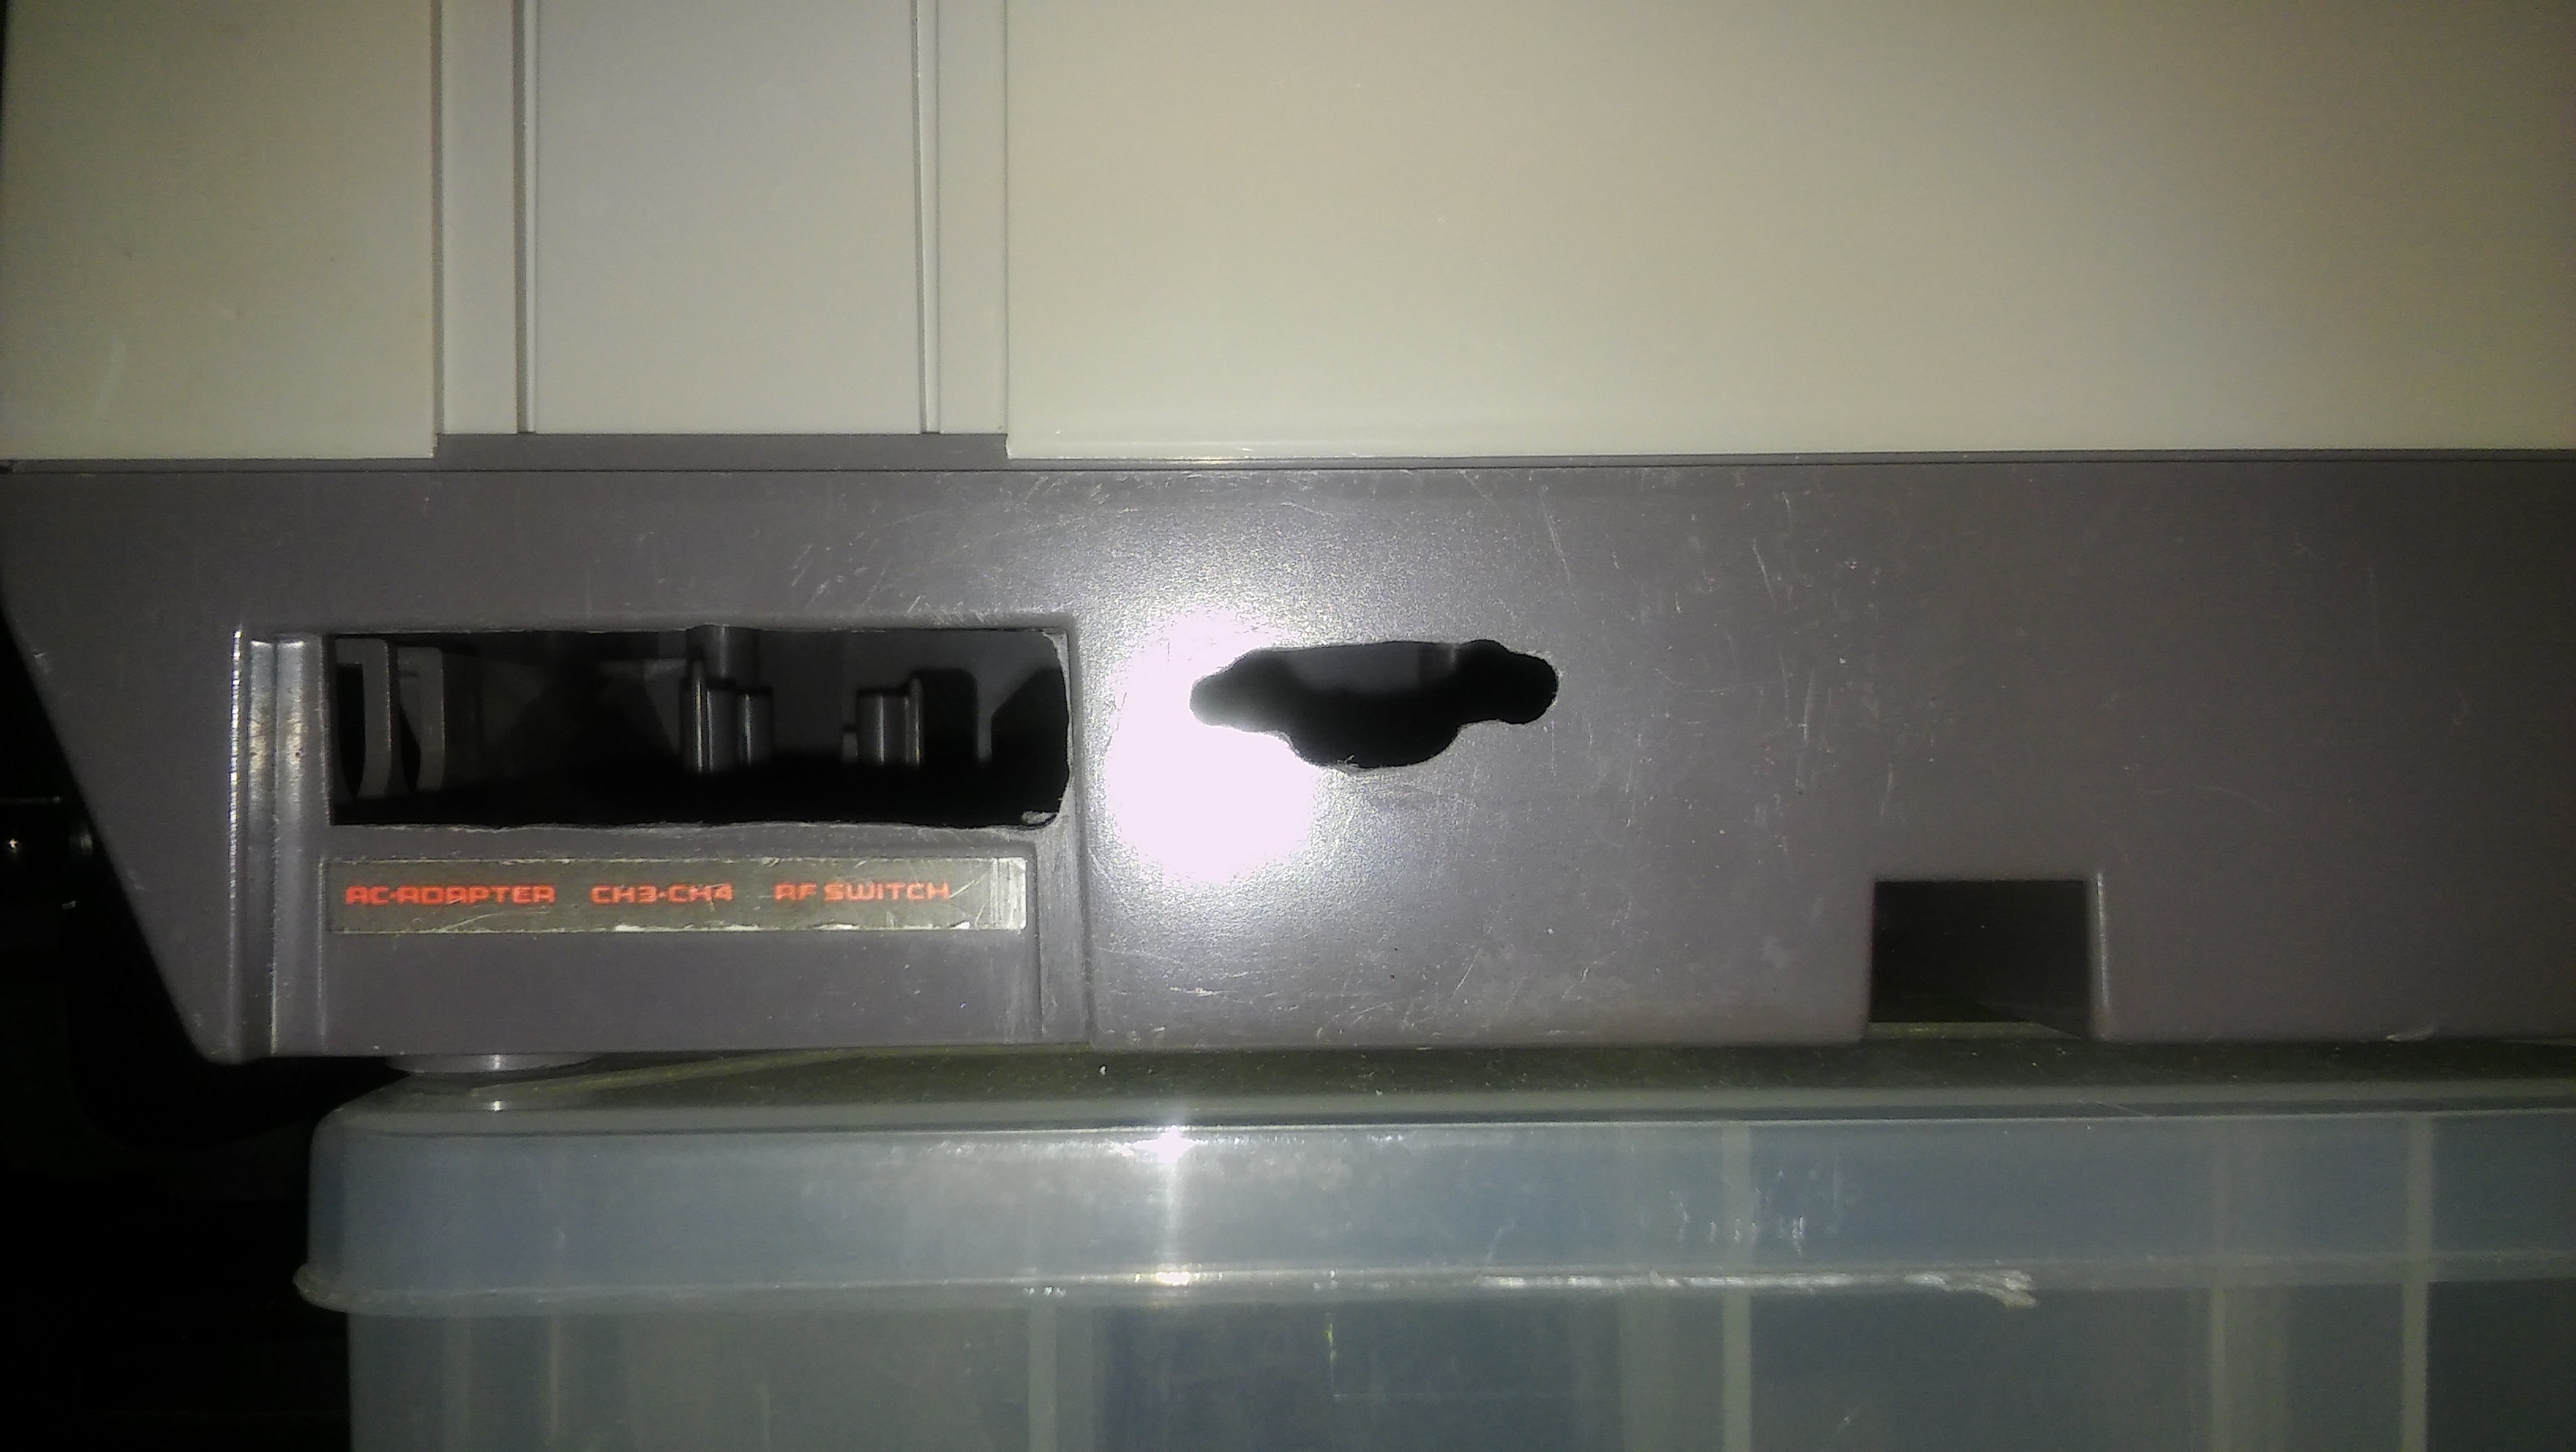
I already posted my NES project but here it is again for those who missed it: Nerd Blog: NES Mod. Also I made some docking/charging stations for cell phones out of drift wood: Nerd Blog: Driftwood Cell Phone Stand. In addition I installed a new kitchen faucet, light fixtures and am working on a Raspberry Pi emulator in an NES case. Pictures are coming soon. I’ve repaired stereo equipment, here is my 1978 Sony tape deck. It works great after I adjusted the resistor for the right speaker output. Got it for $8 at Goodwill!
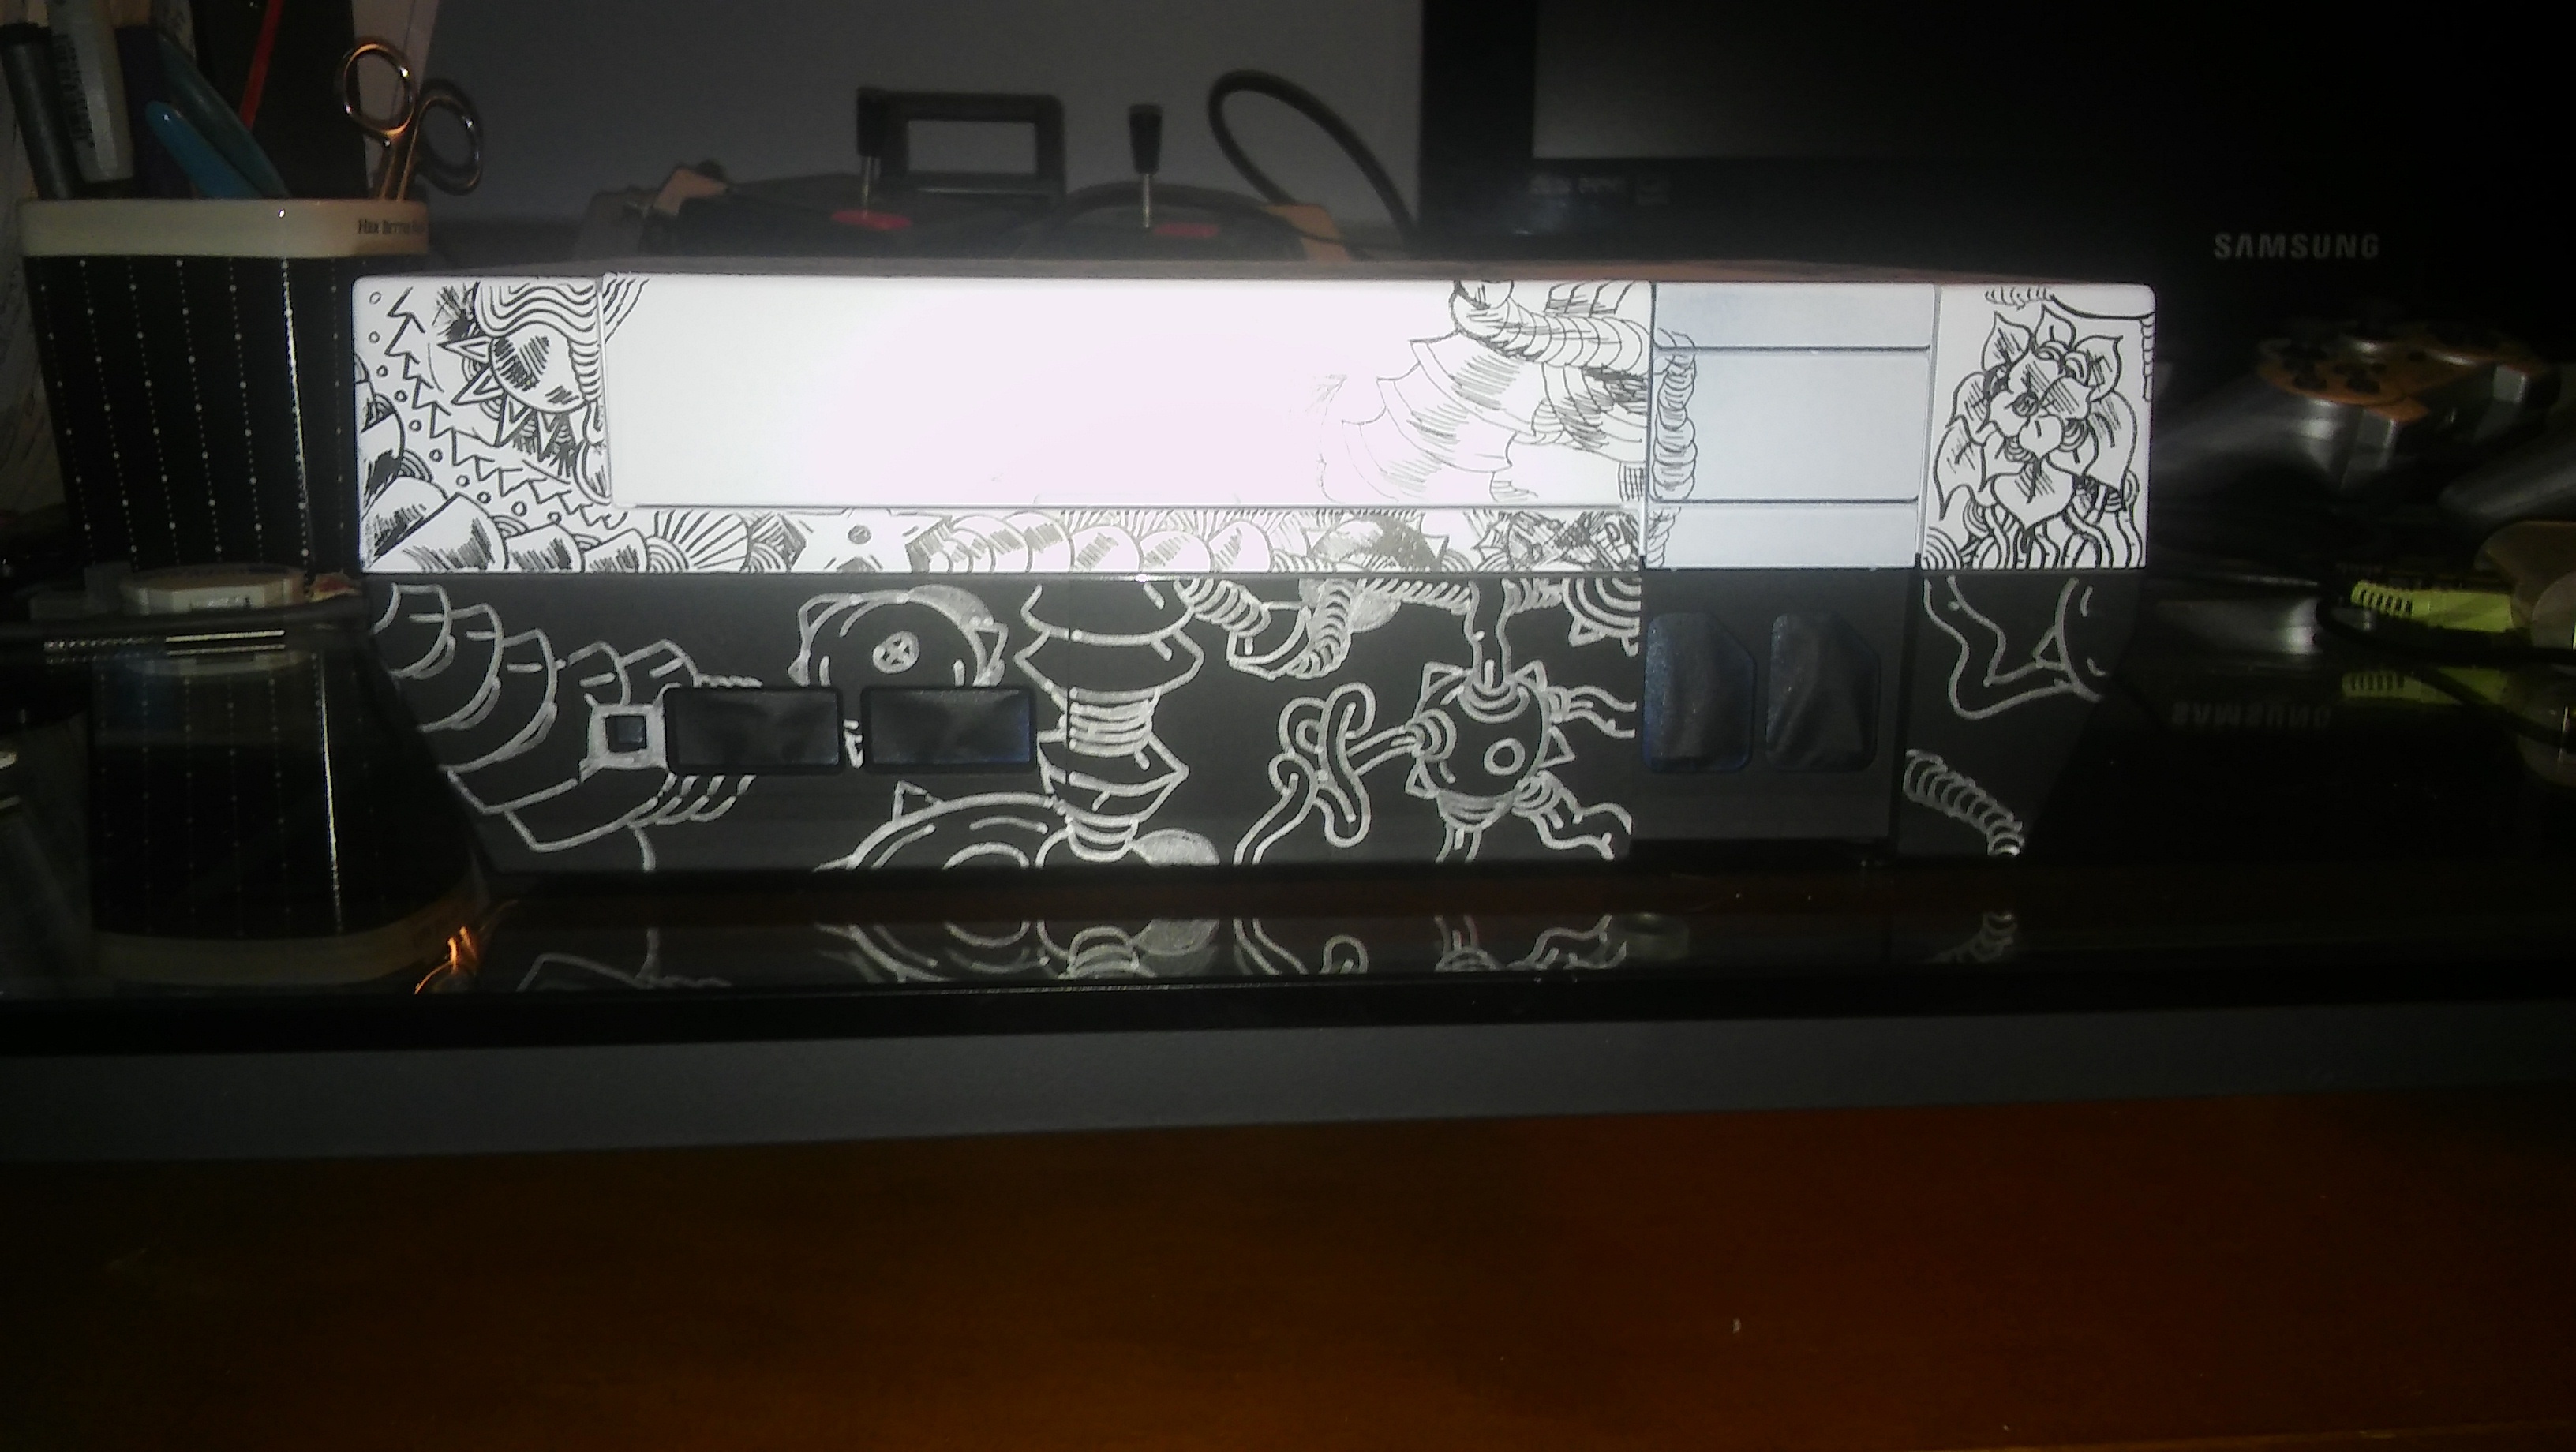
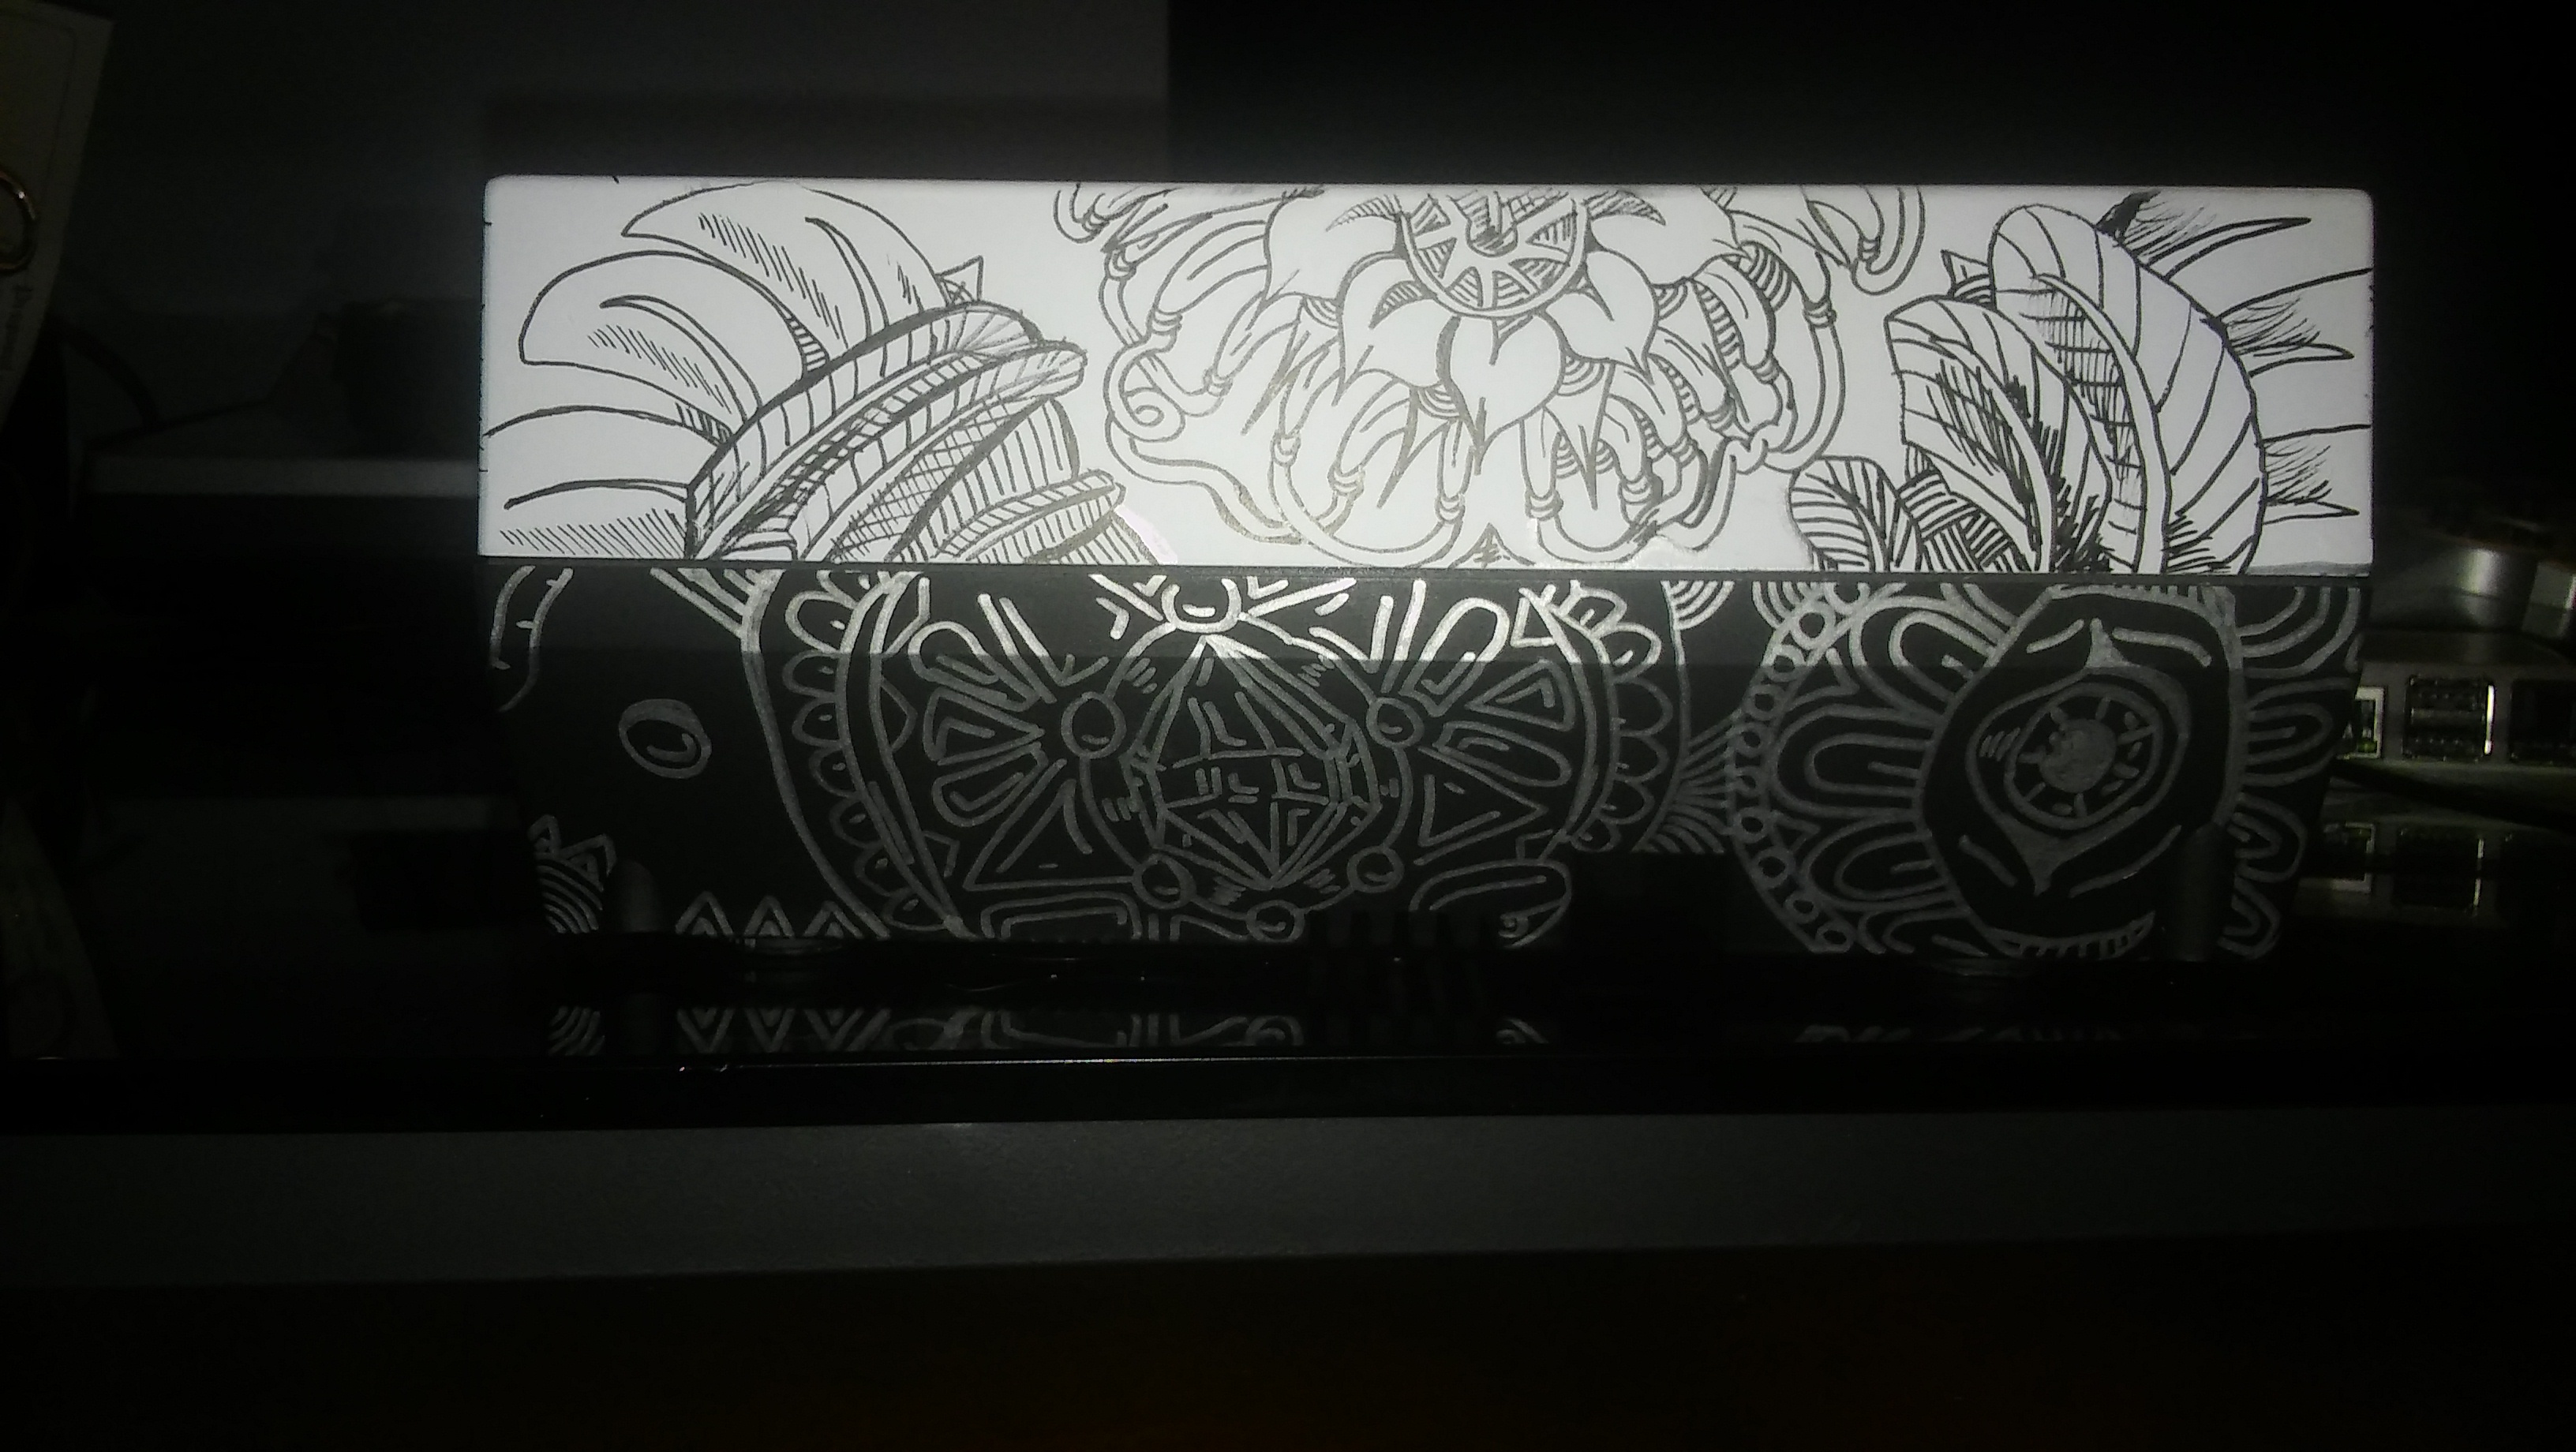
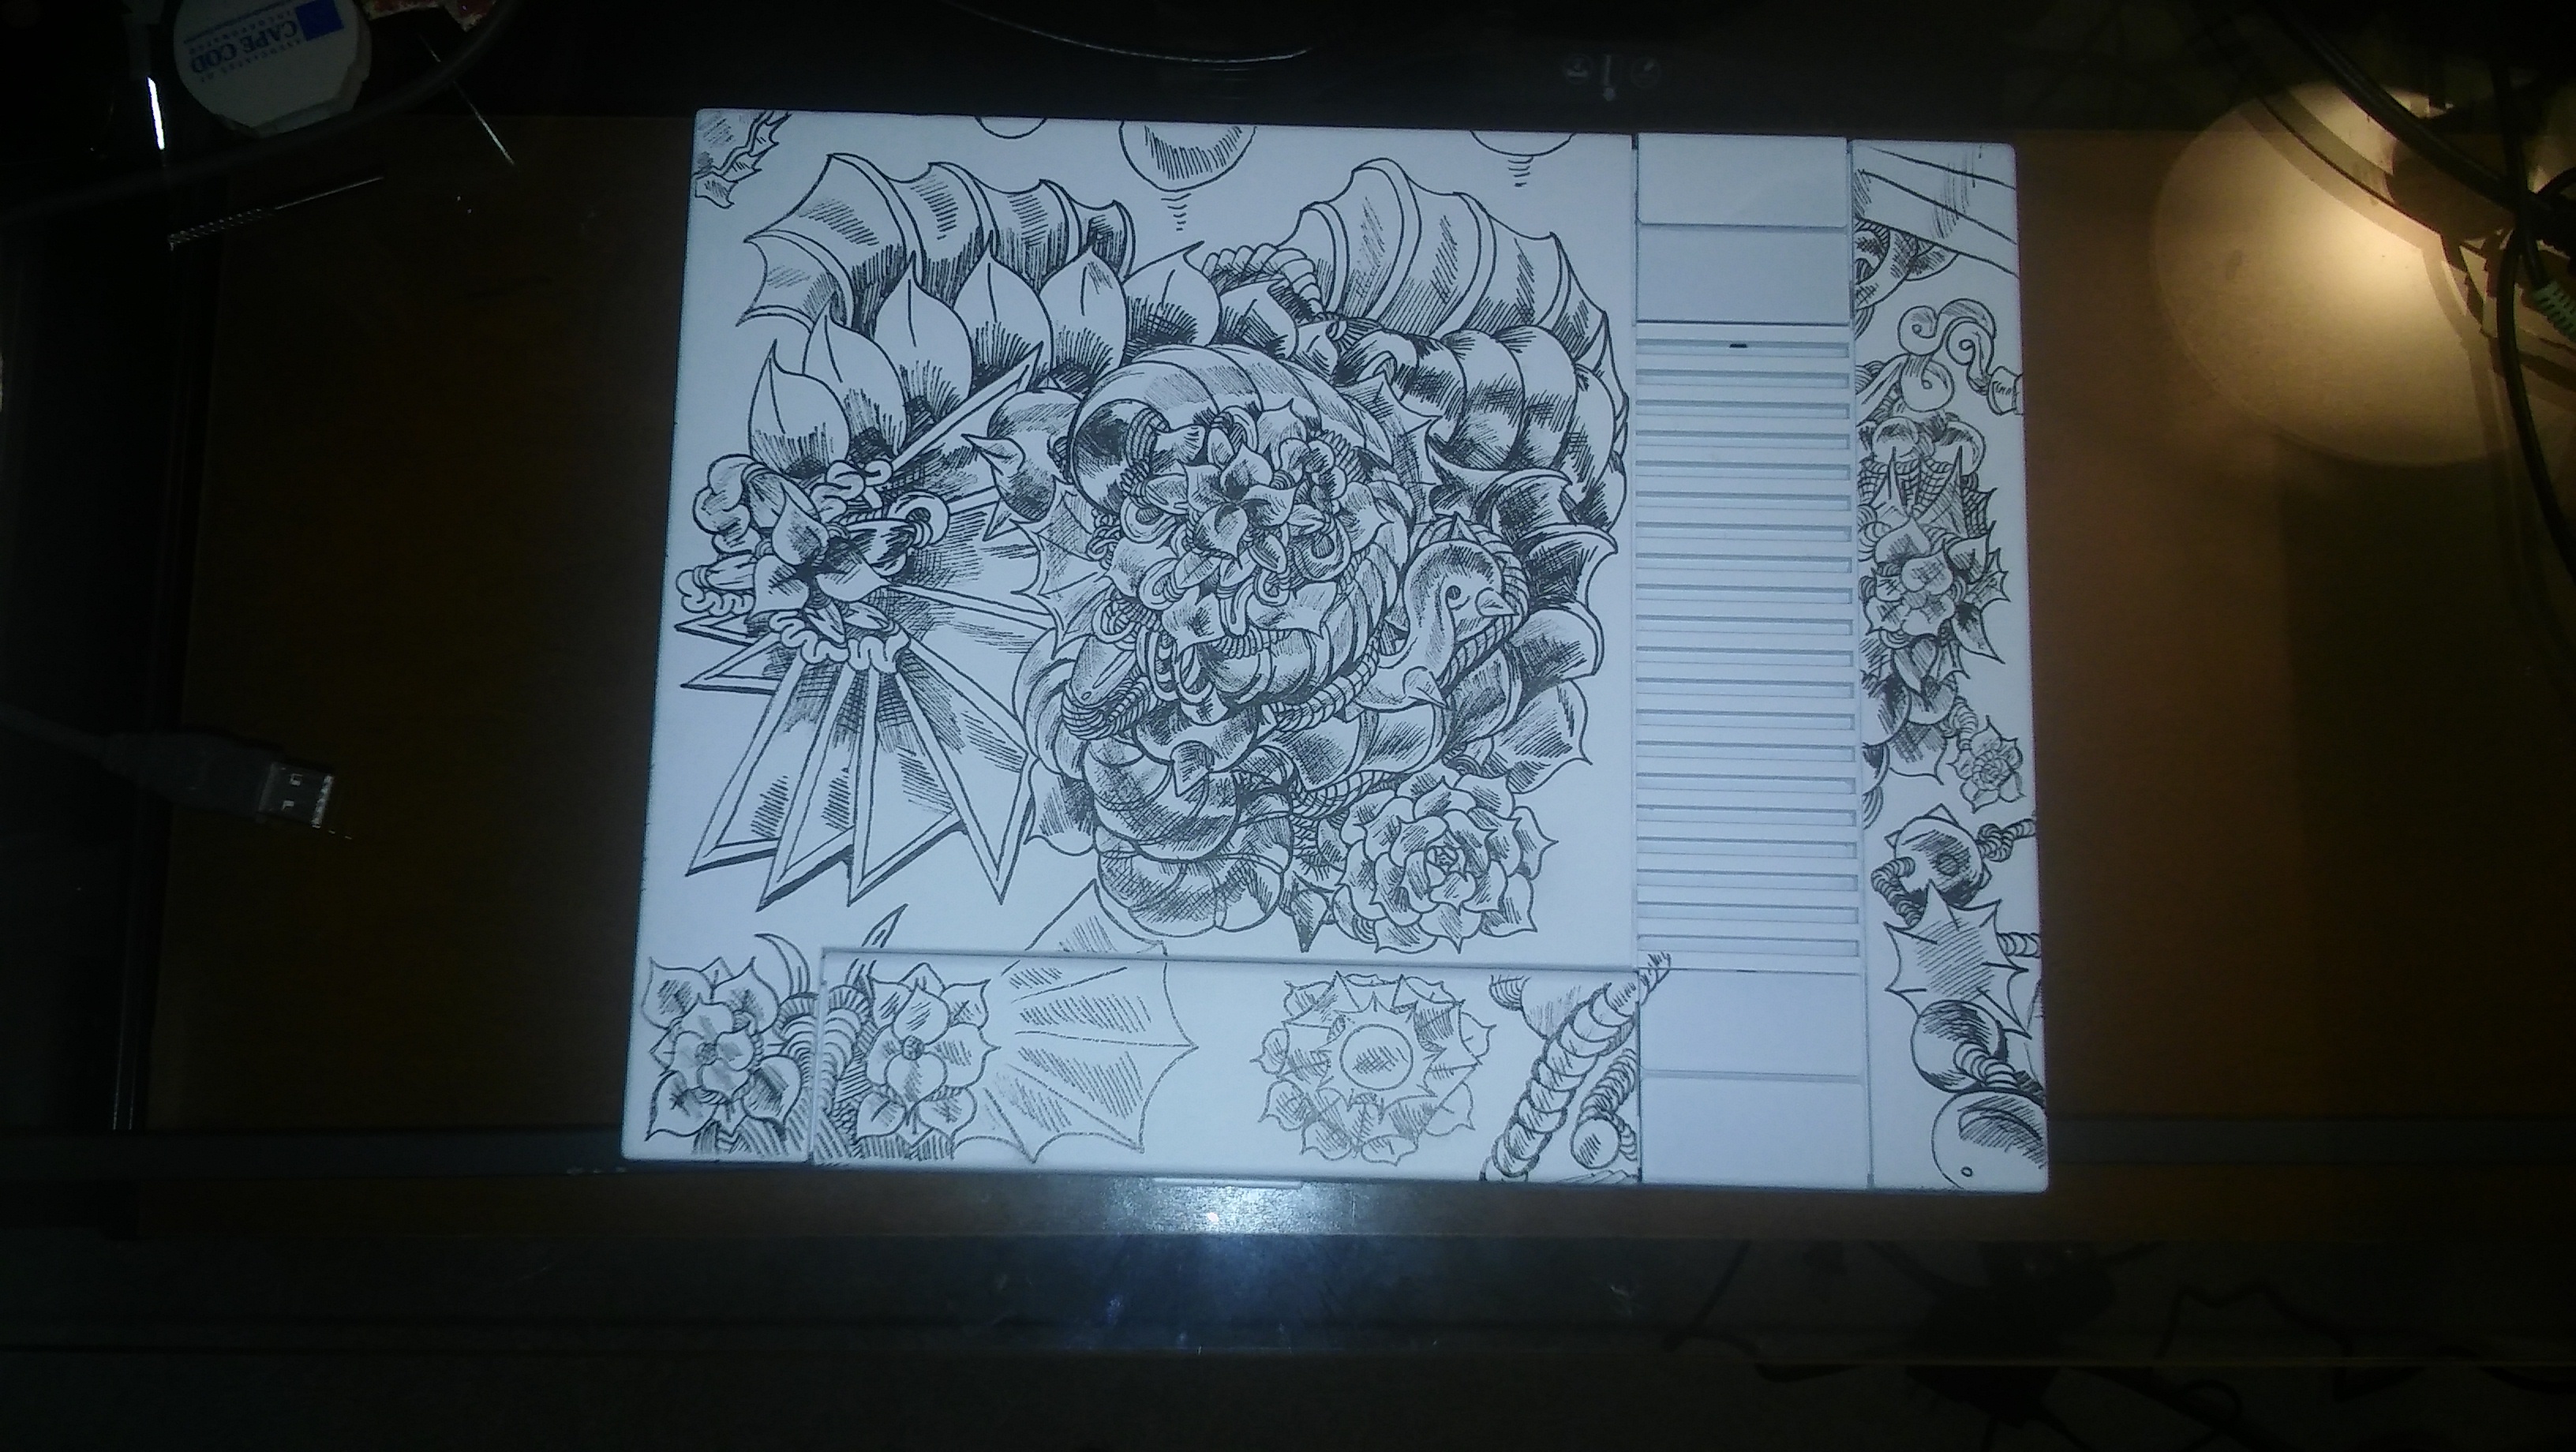
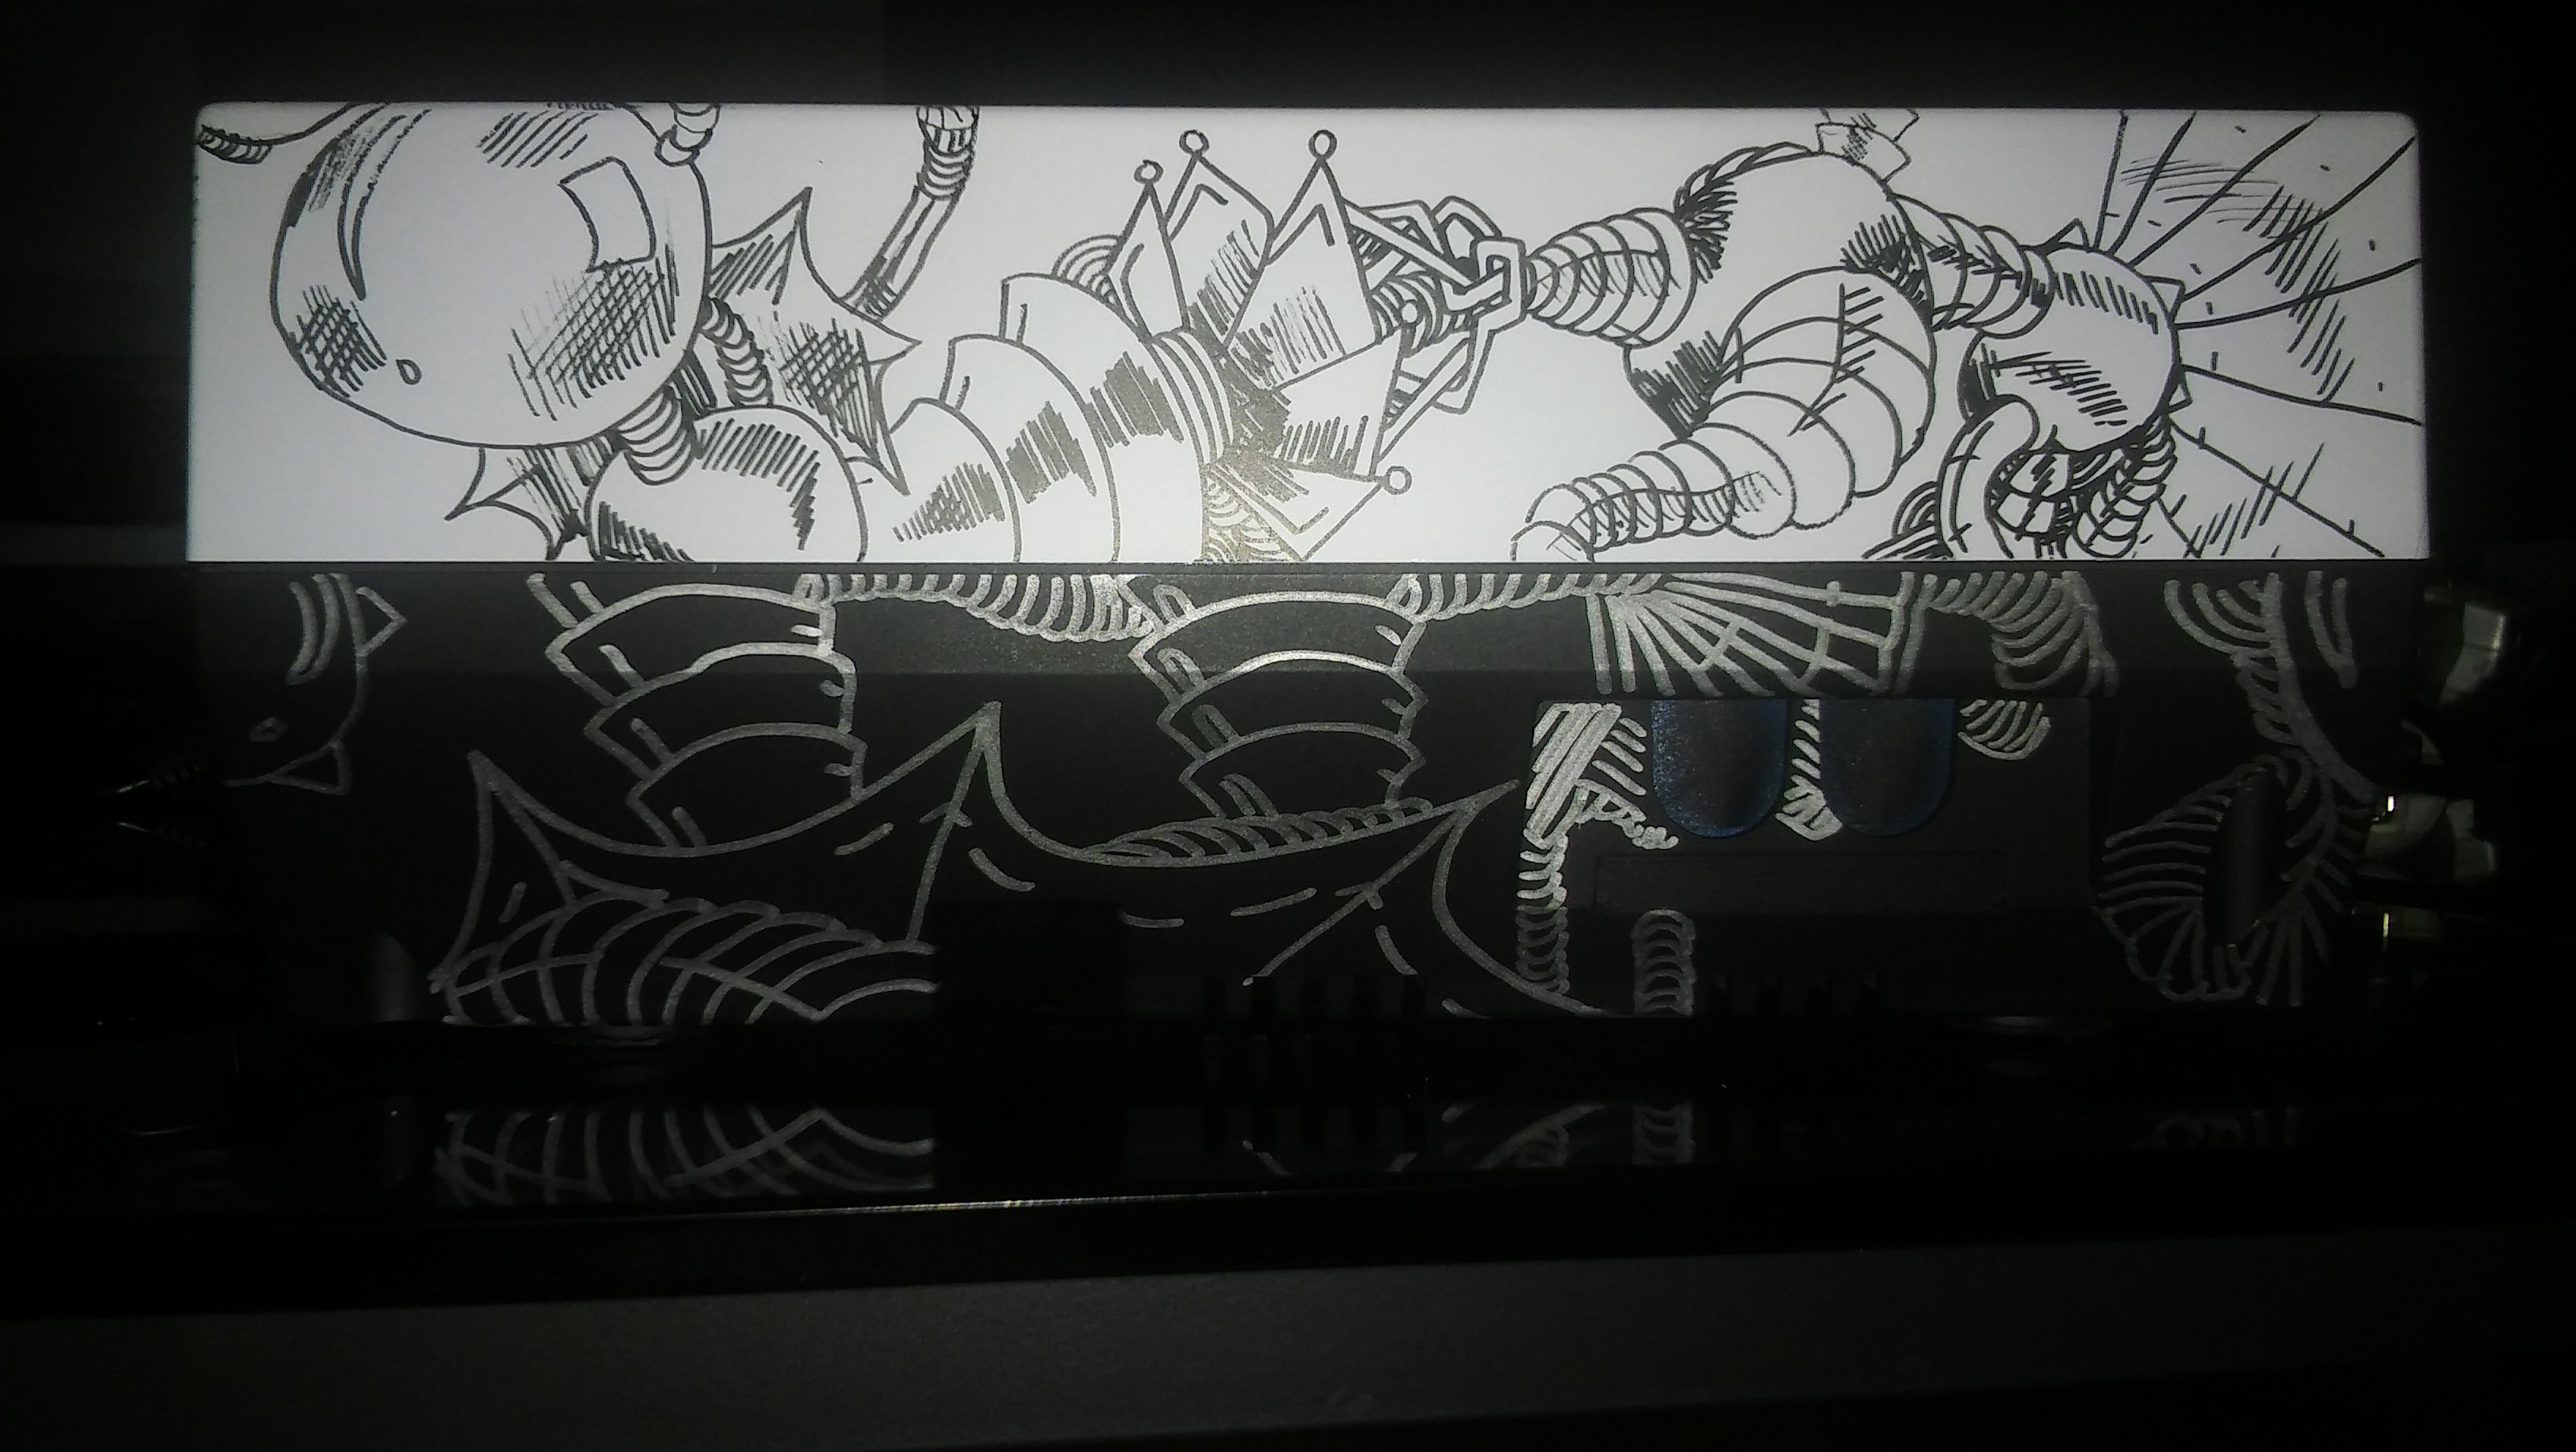
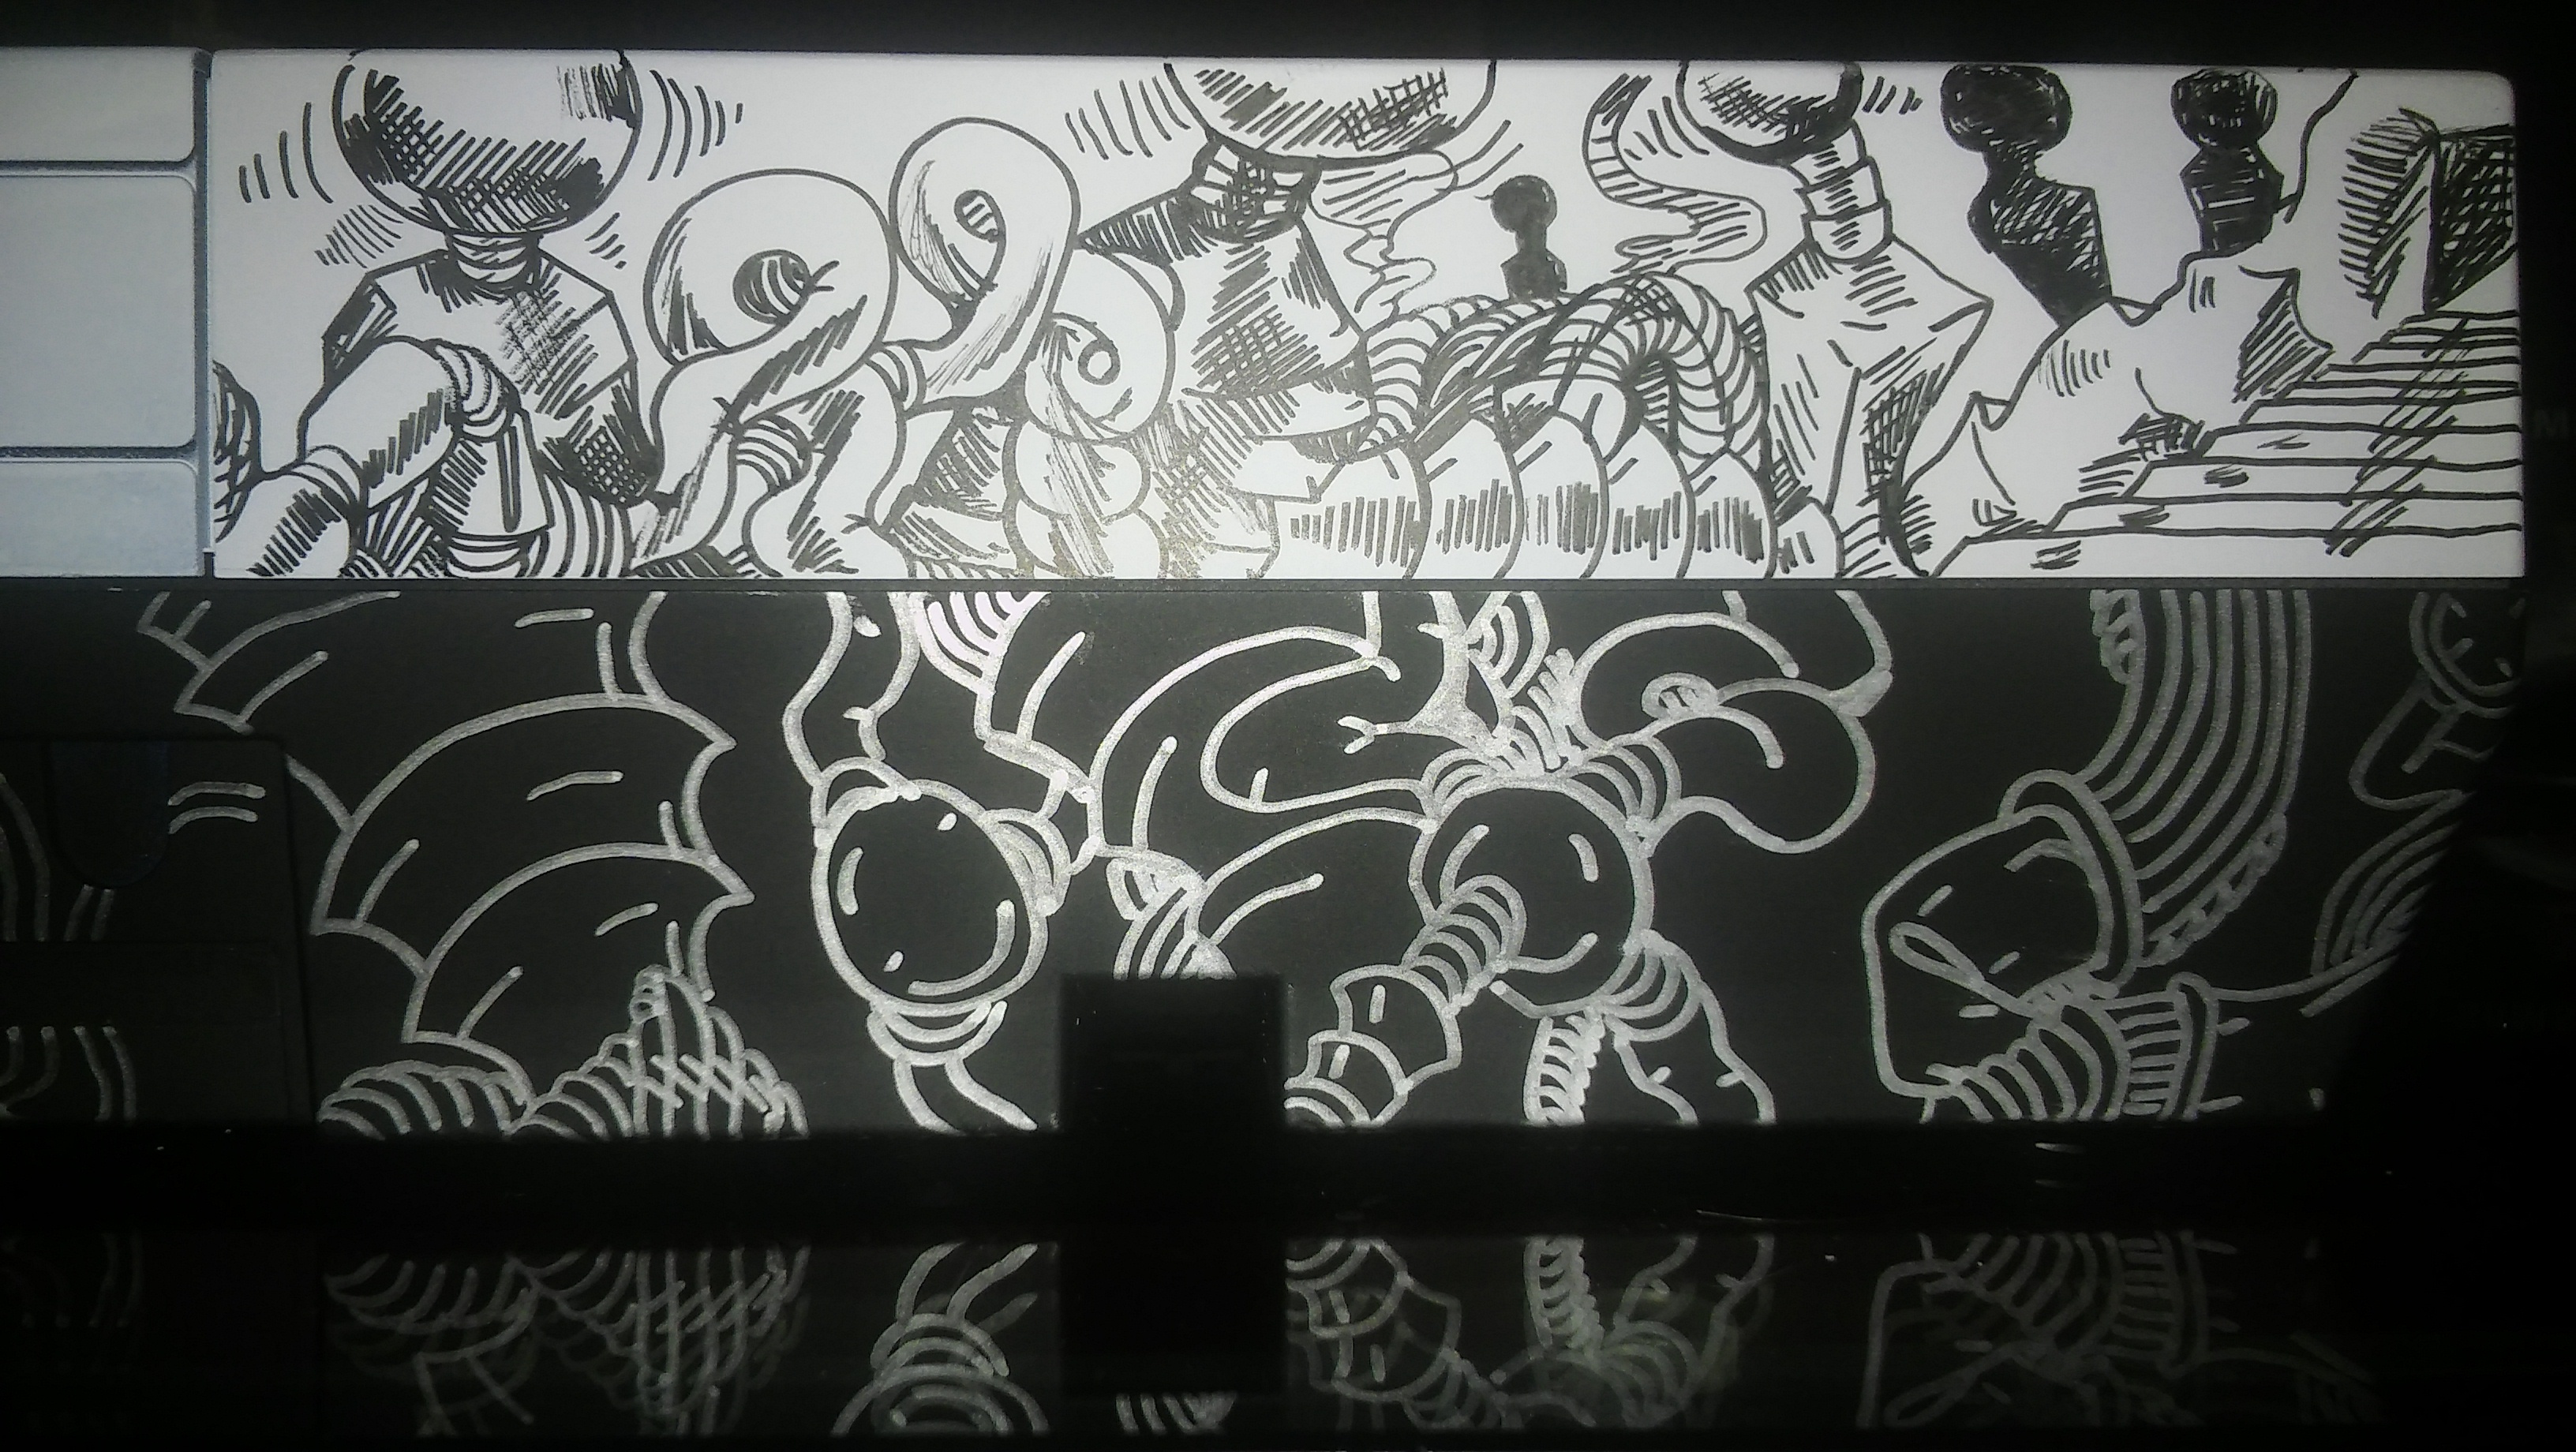
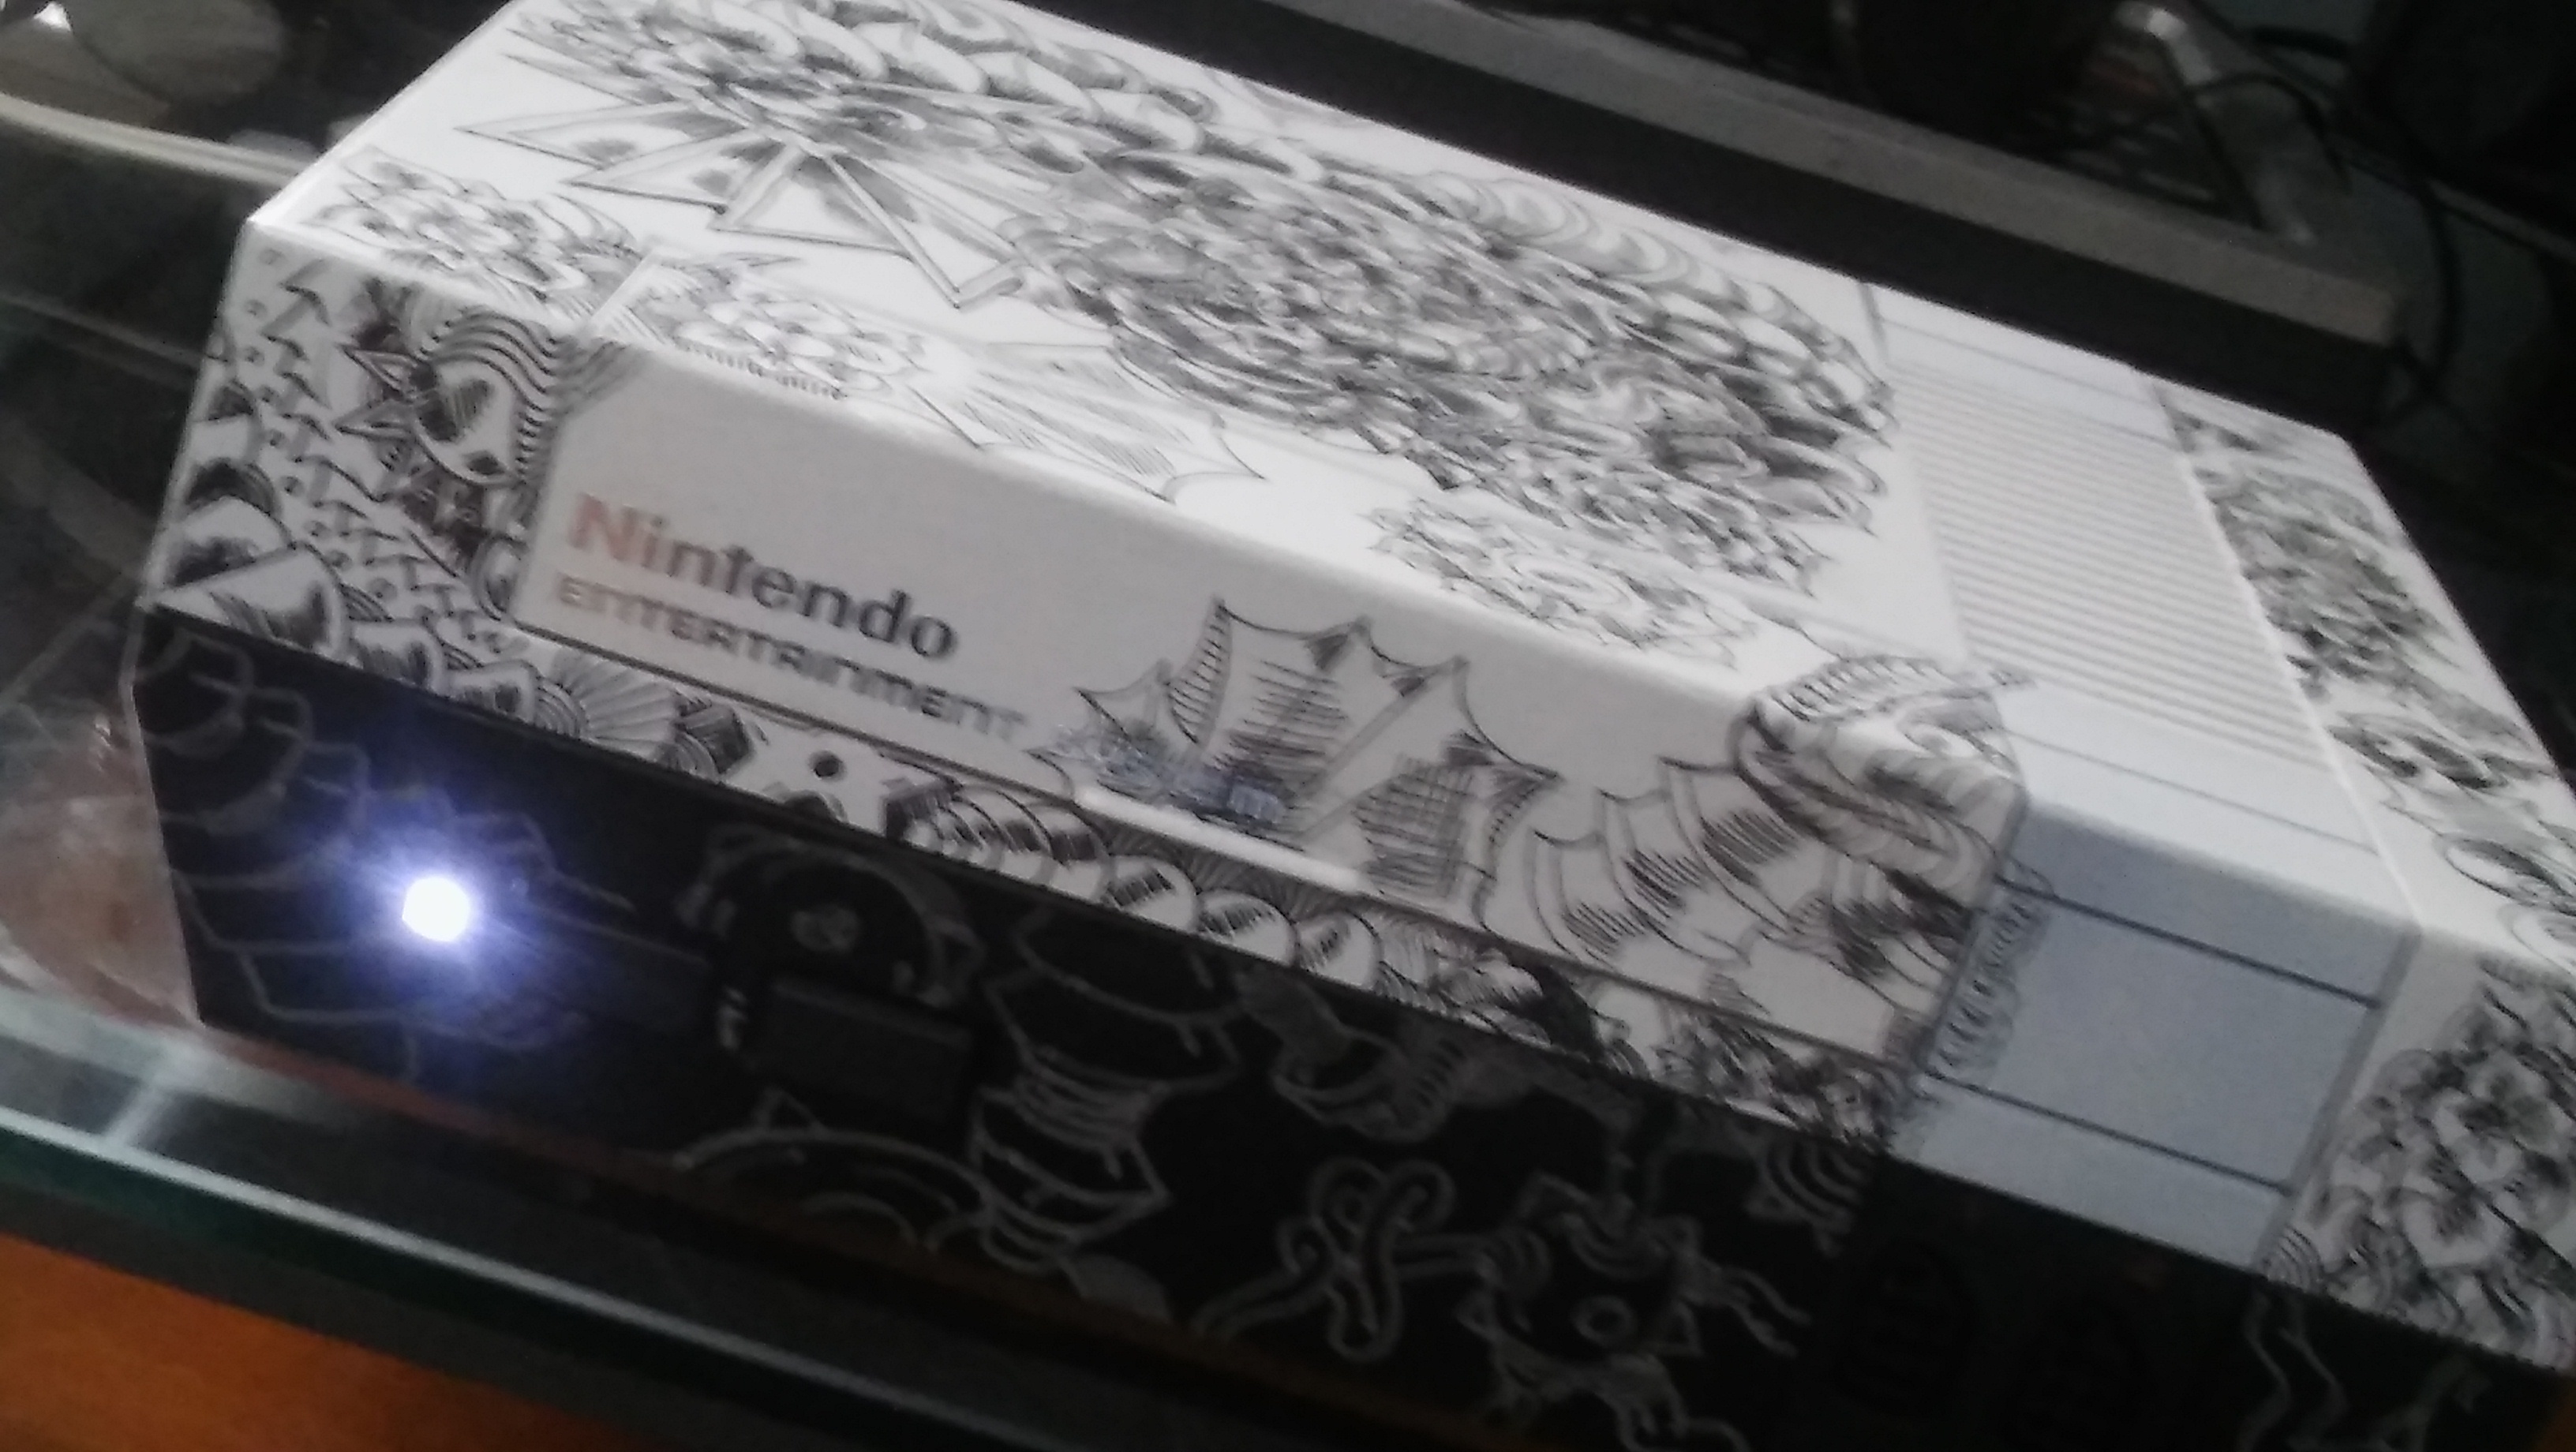
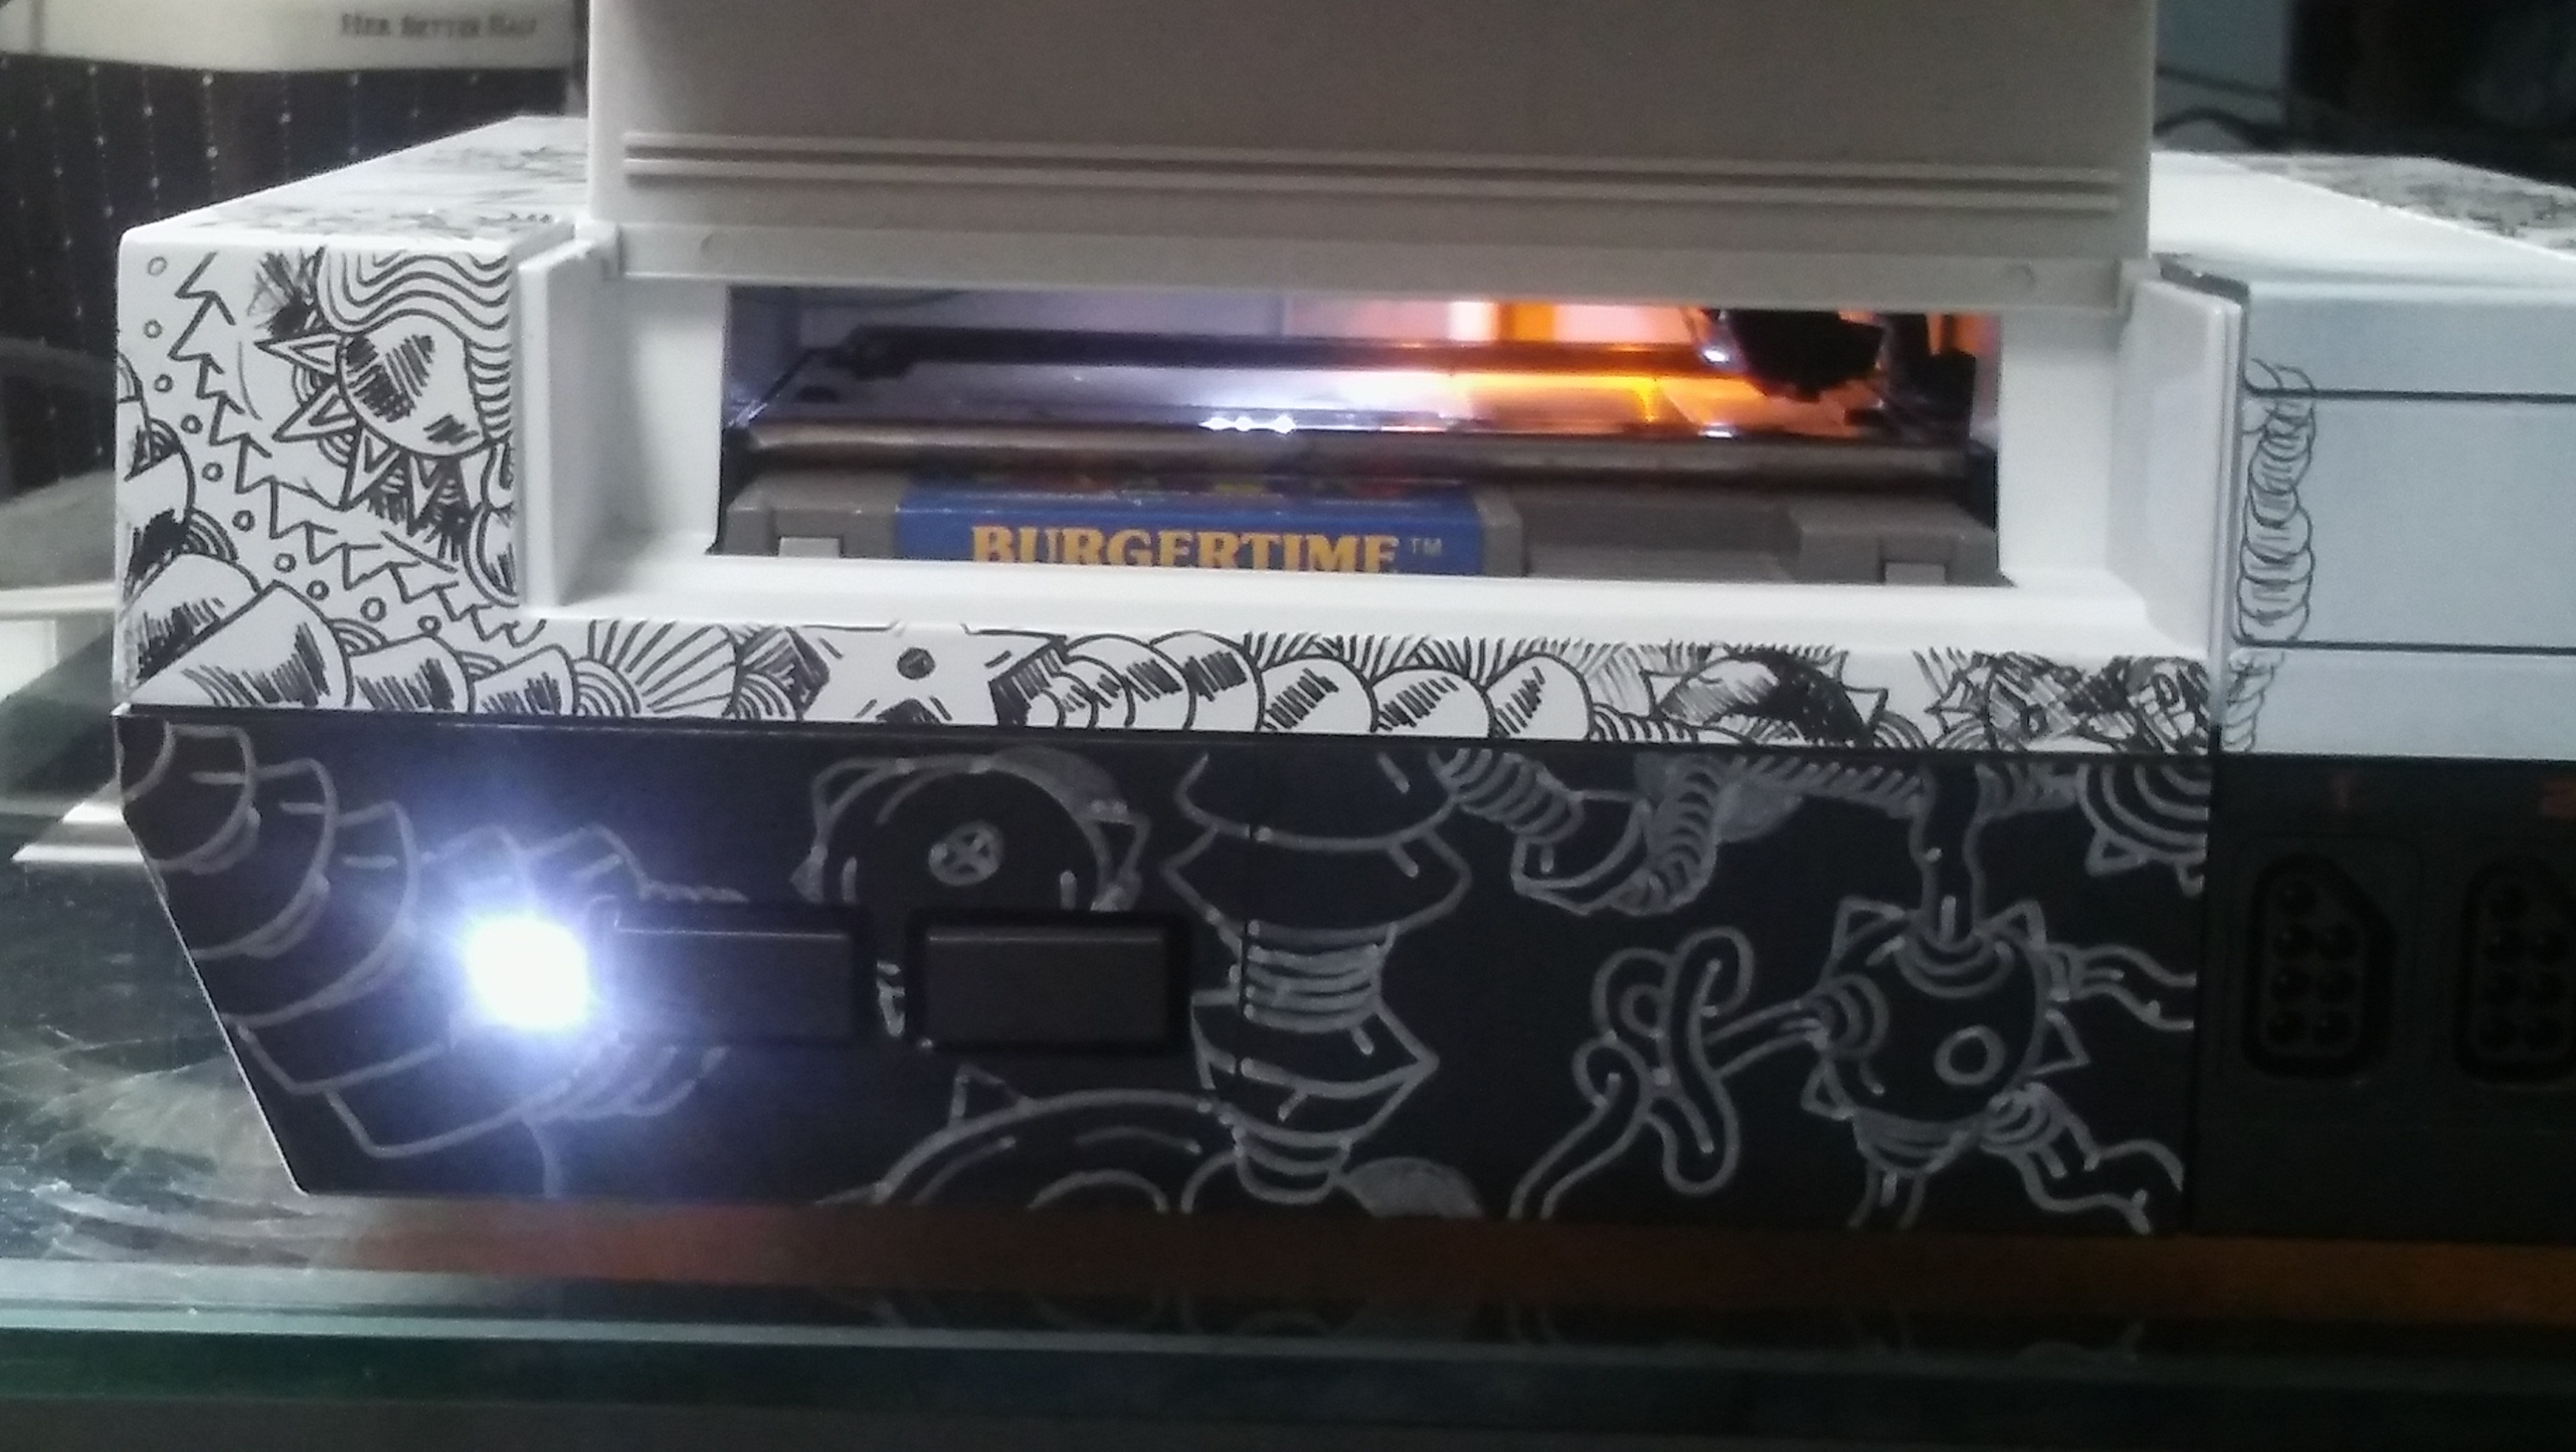
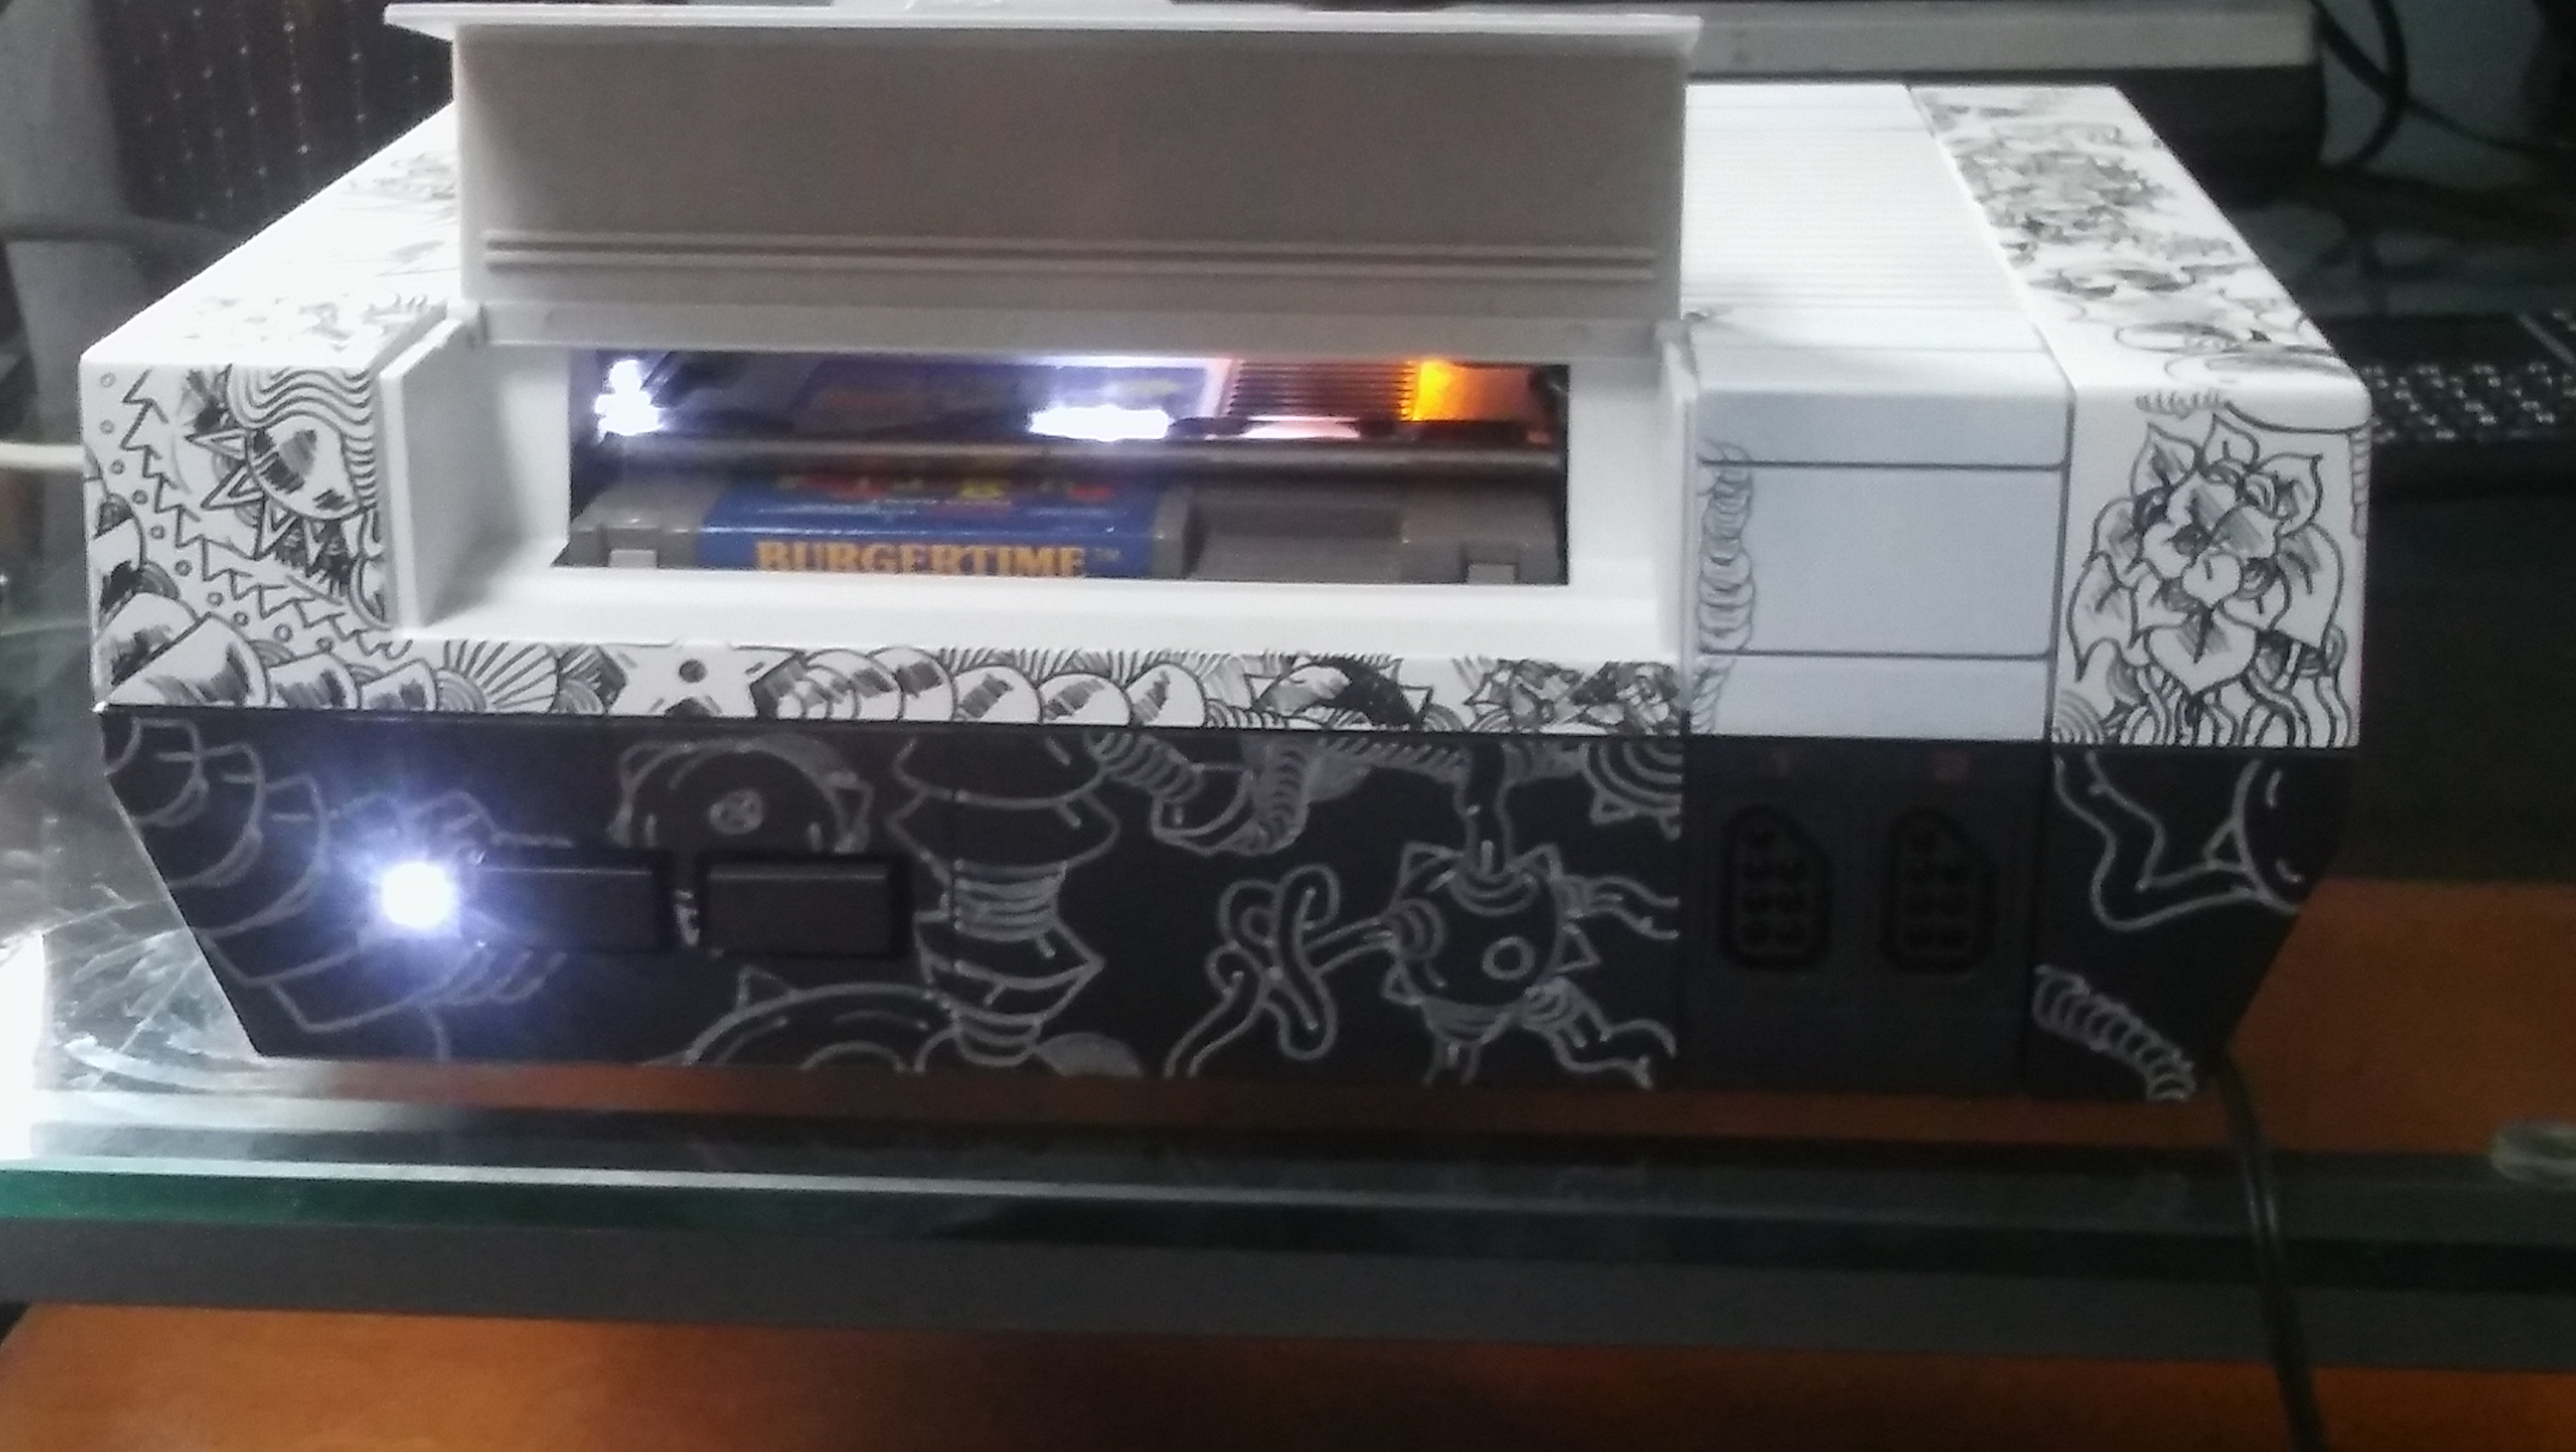
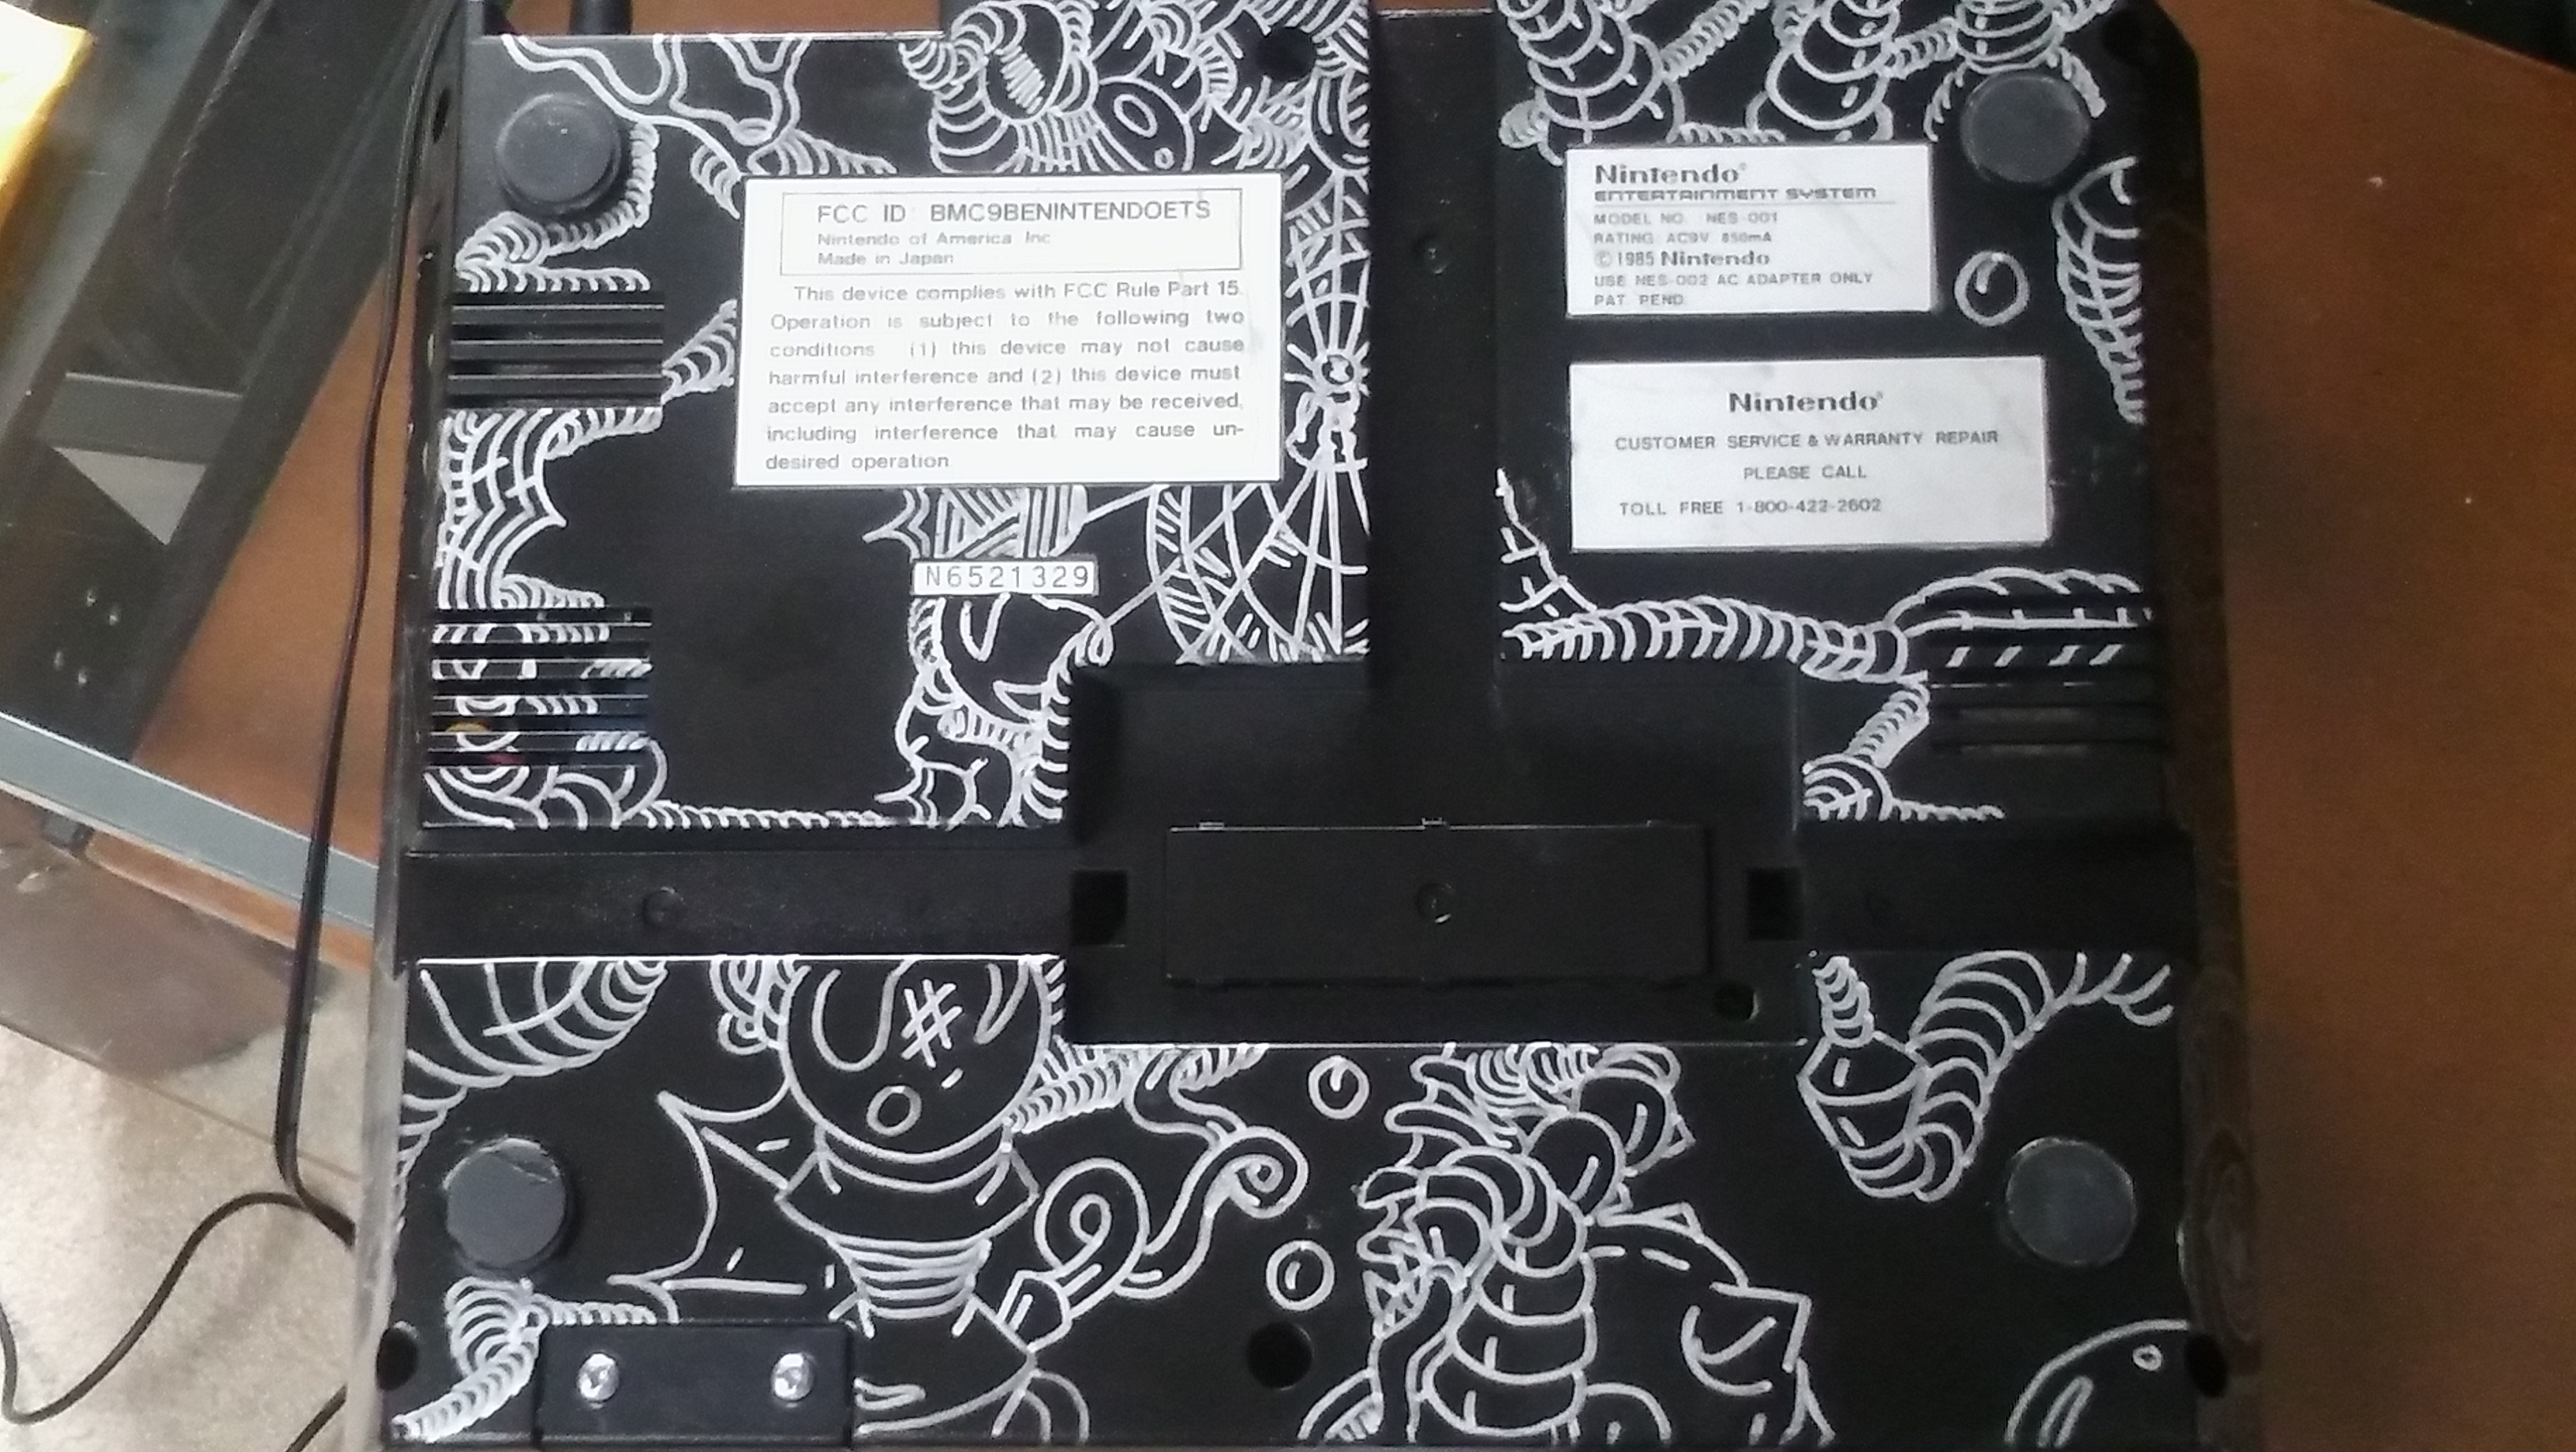
Here is a NES mod I’m working on. Took a long time to draw all over the case. The power LED was replaced with white (not pictured) and I’m working on some interior lighting. I’ll clear coat the artwork soon.
Thank you @bmo. I must have bought crappy clear coat because it bubbled up in spots but I think the textured look is cool. You can’t tell from a distance, it’s only on the bottom half. I’ll post pictures of the final done done product with lights and all. I still need to research how many LEDs I can run in parallel from the 5V power source. I would like to do 4 and read the NES can support up to 8.
Thanks! Cheap Rustoleum spray paint. I’m getting better at applying it, but I’m sure it could look better, always trying to improve my product. The clear coat is the big issue. I’ll do some googling and find some high quality stuff. At least with every new custom job I’m learning new ways to make it look better.
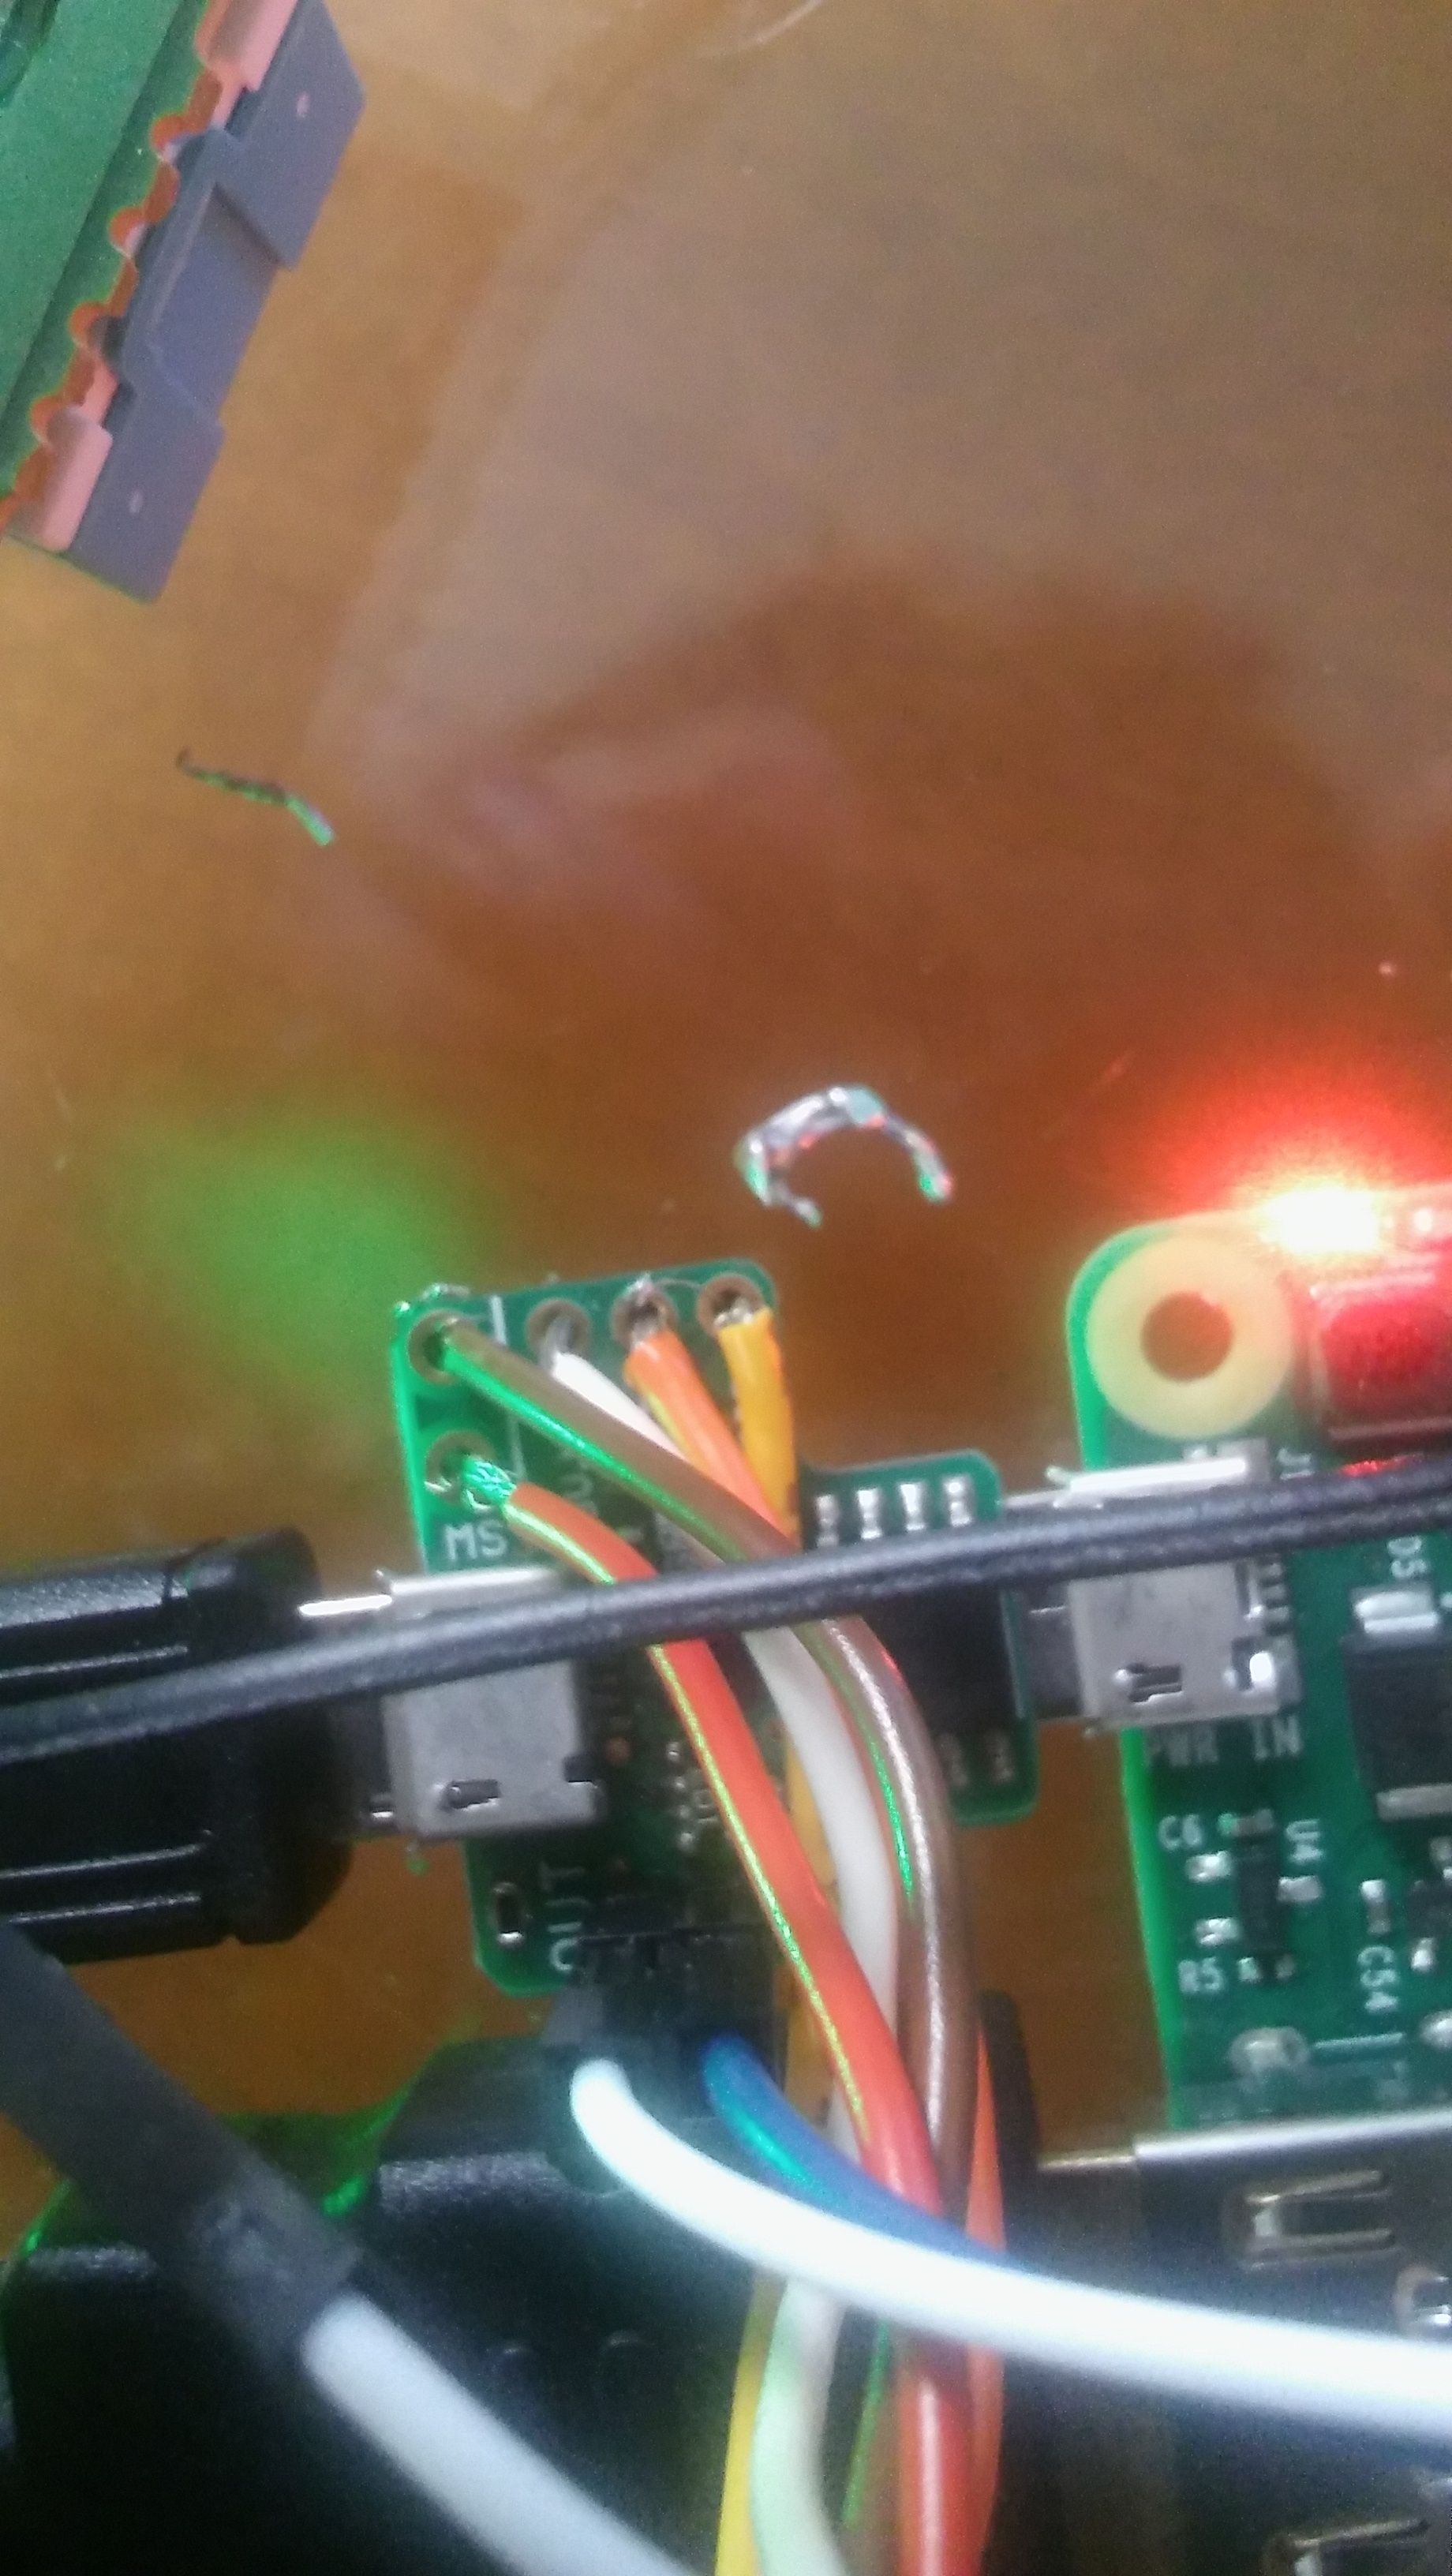
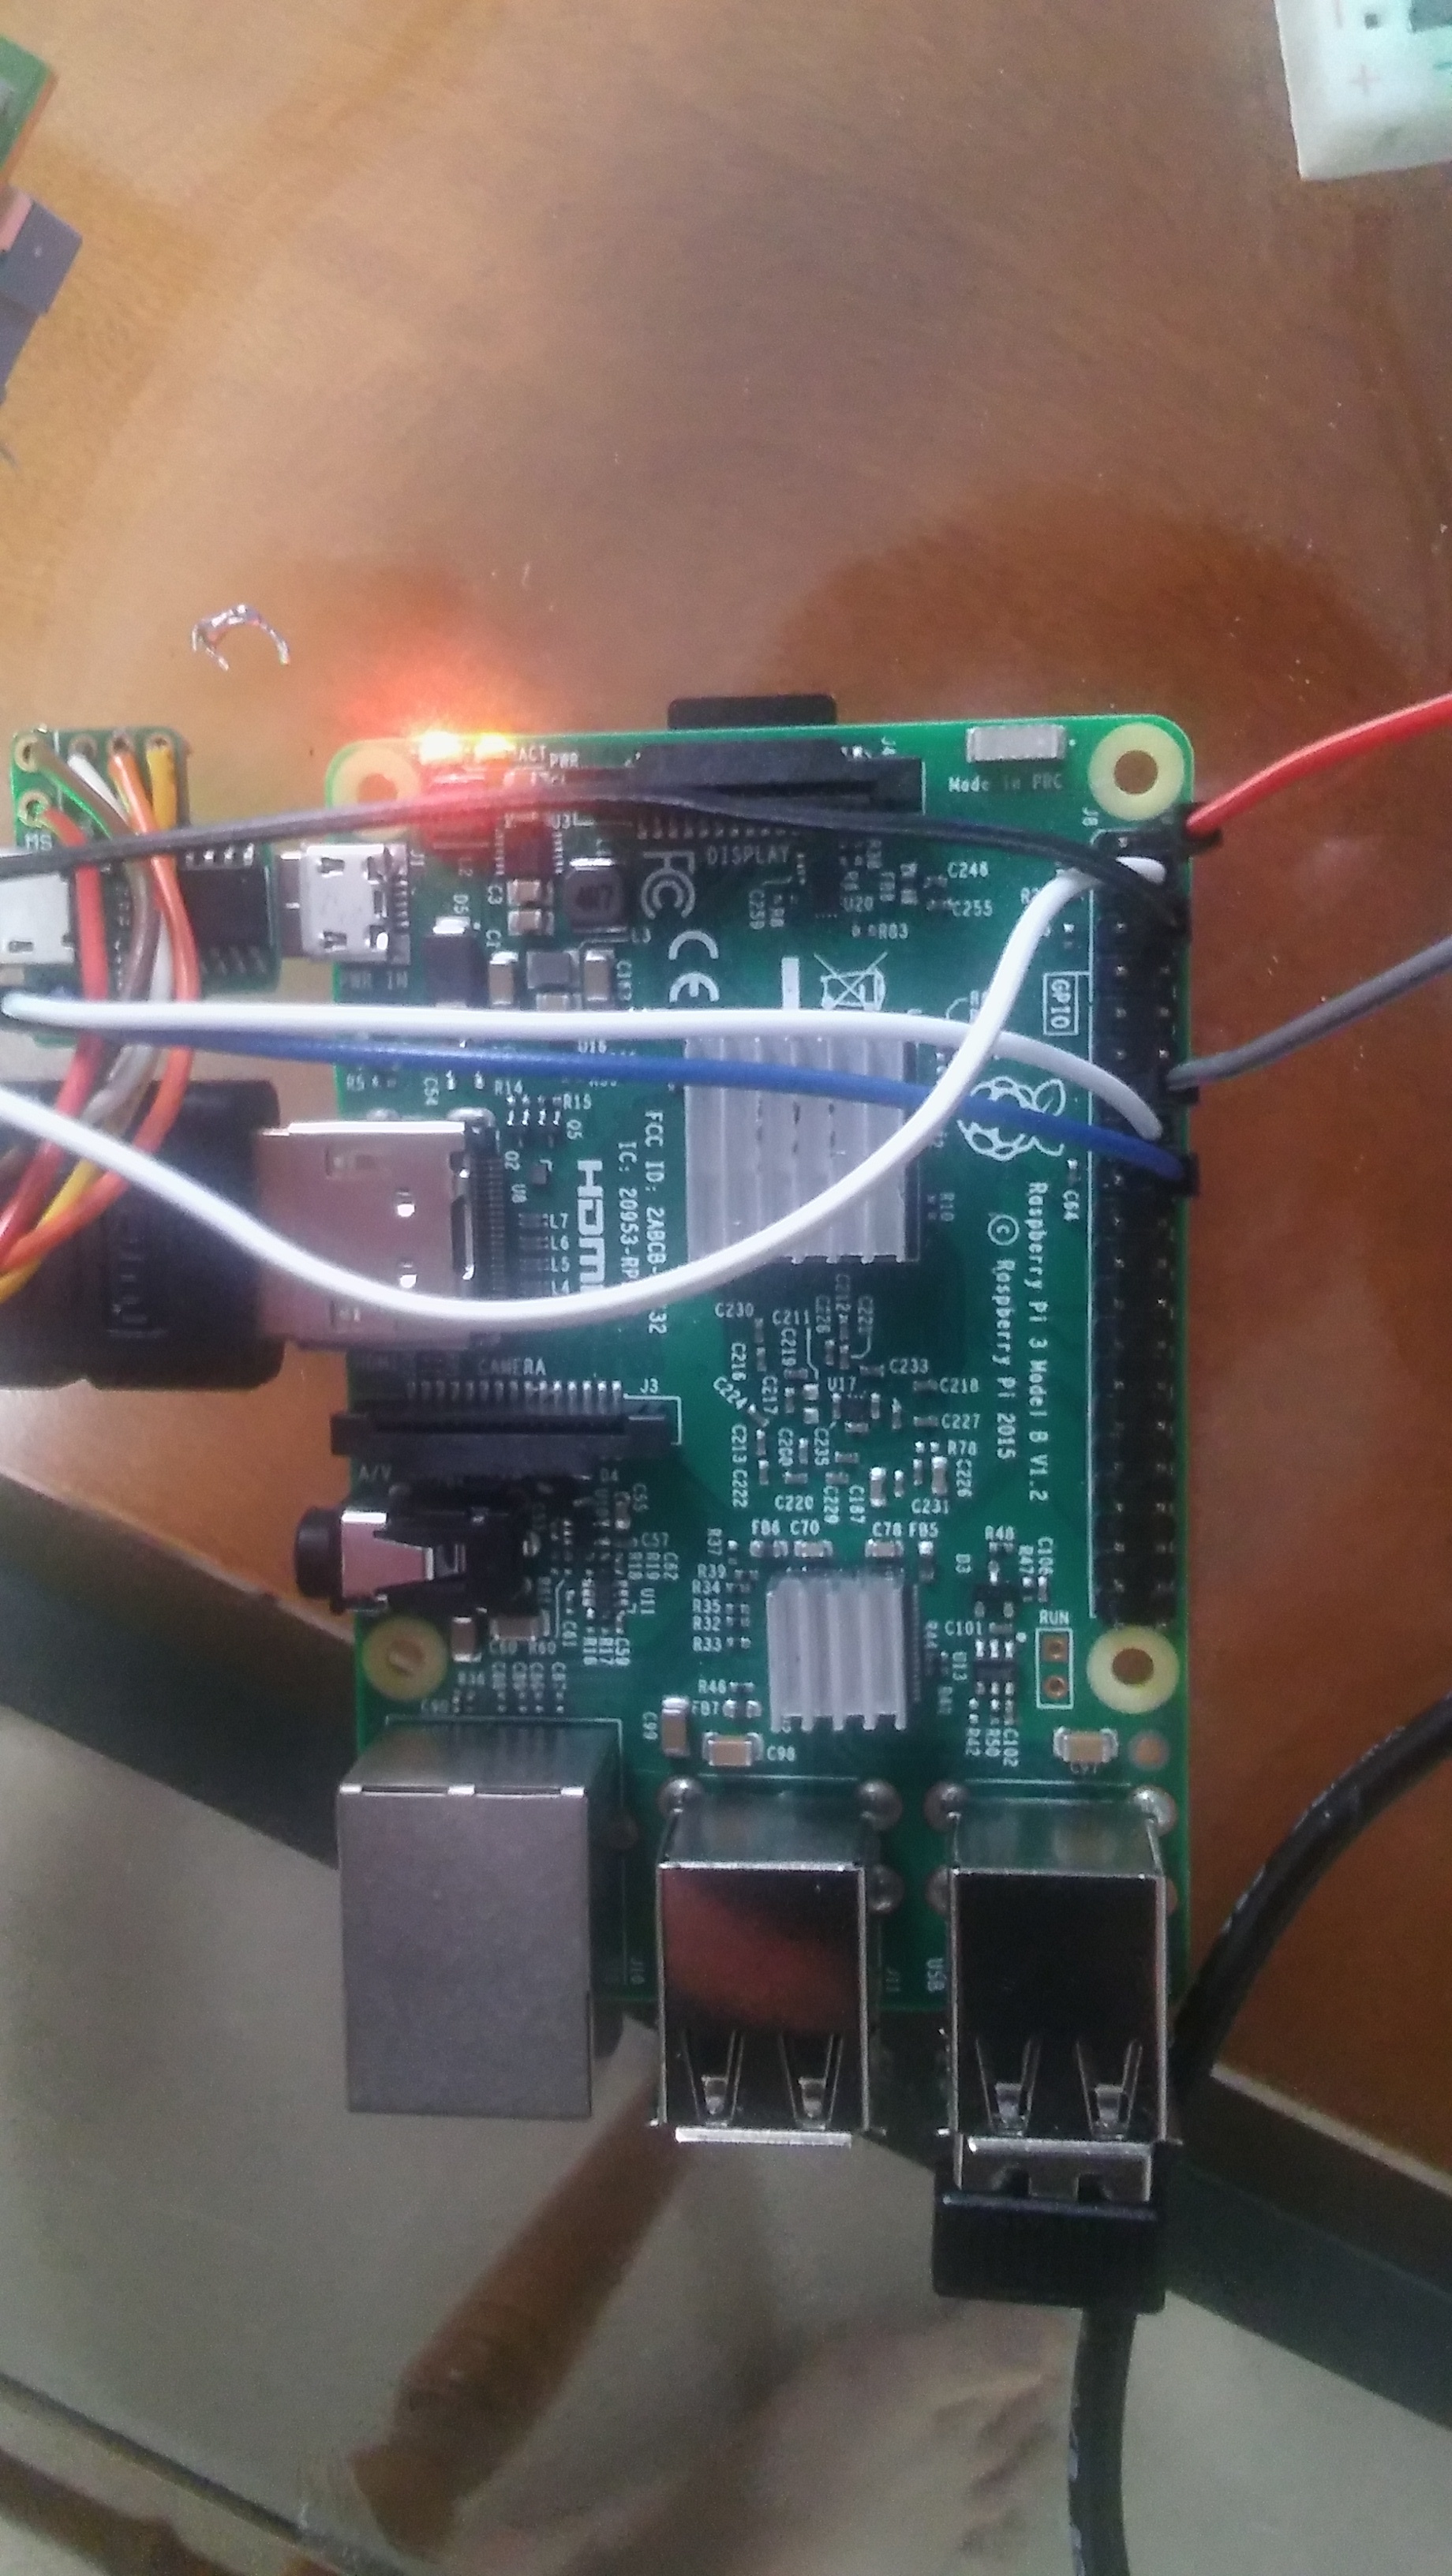
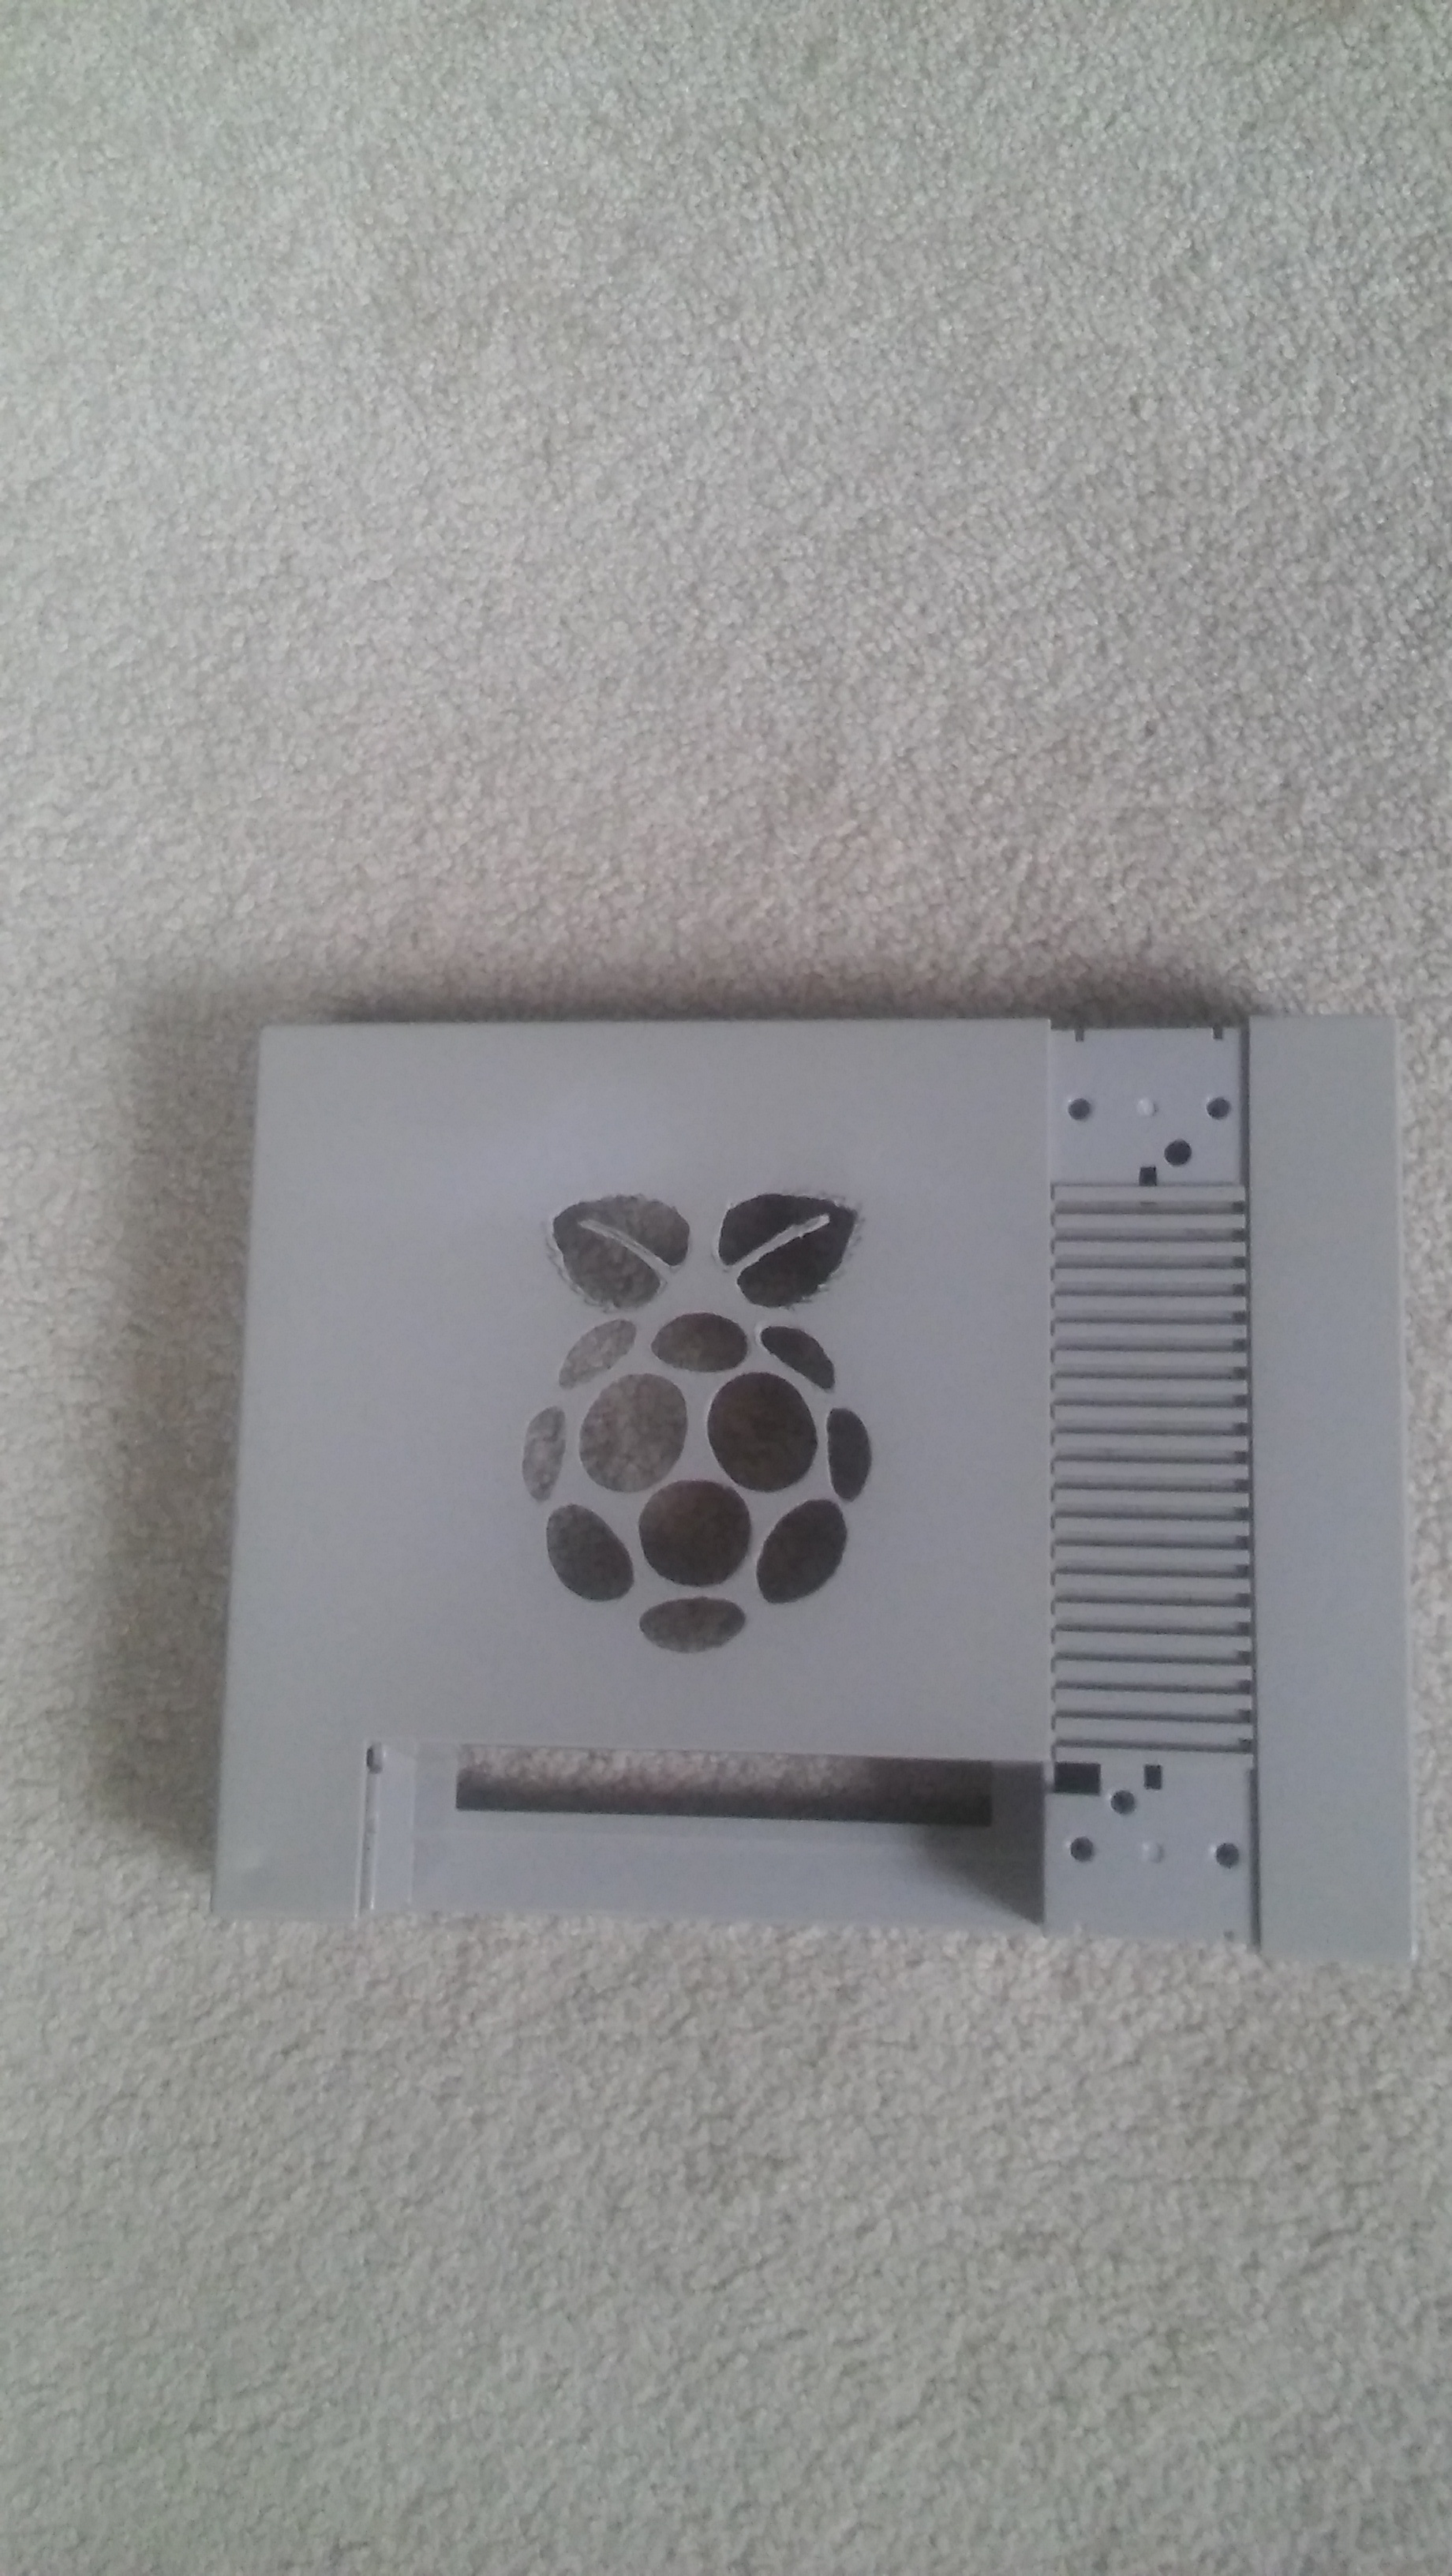
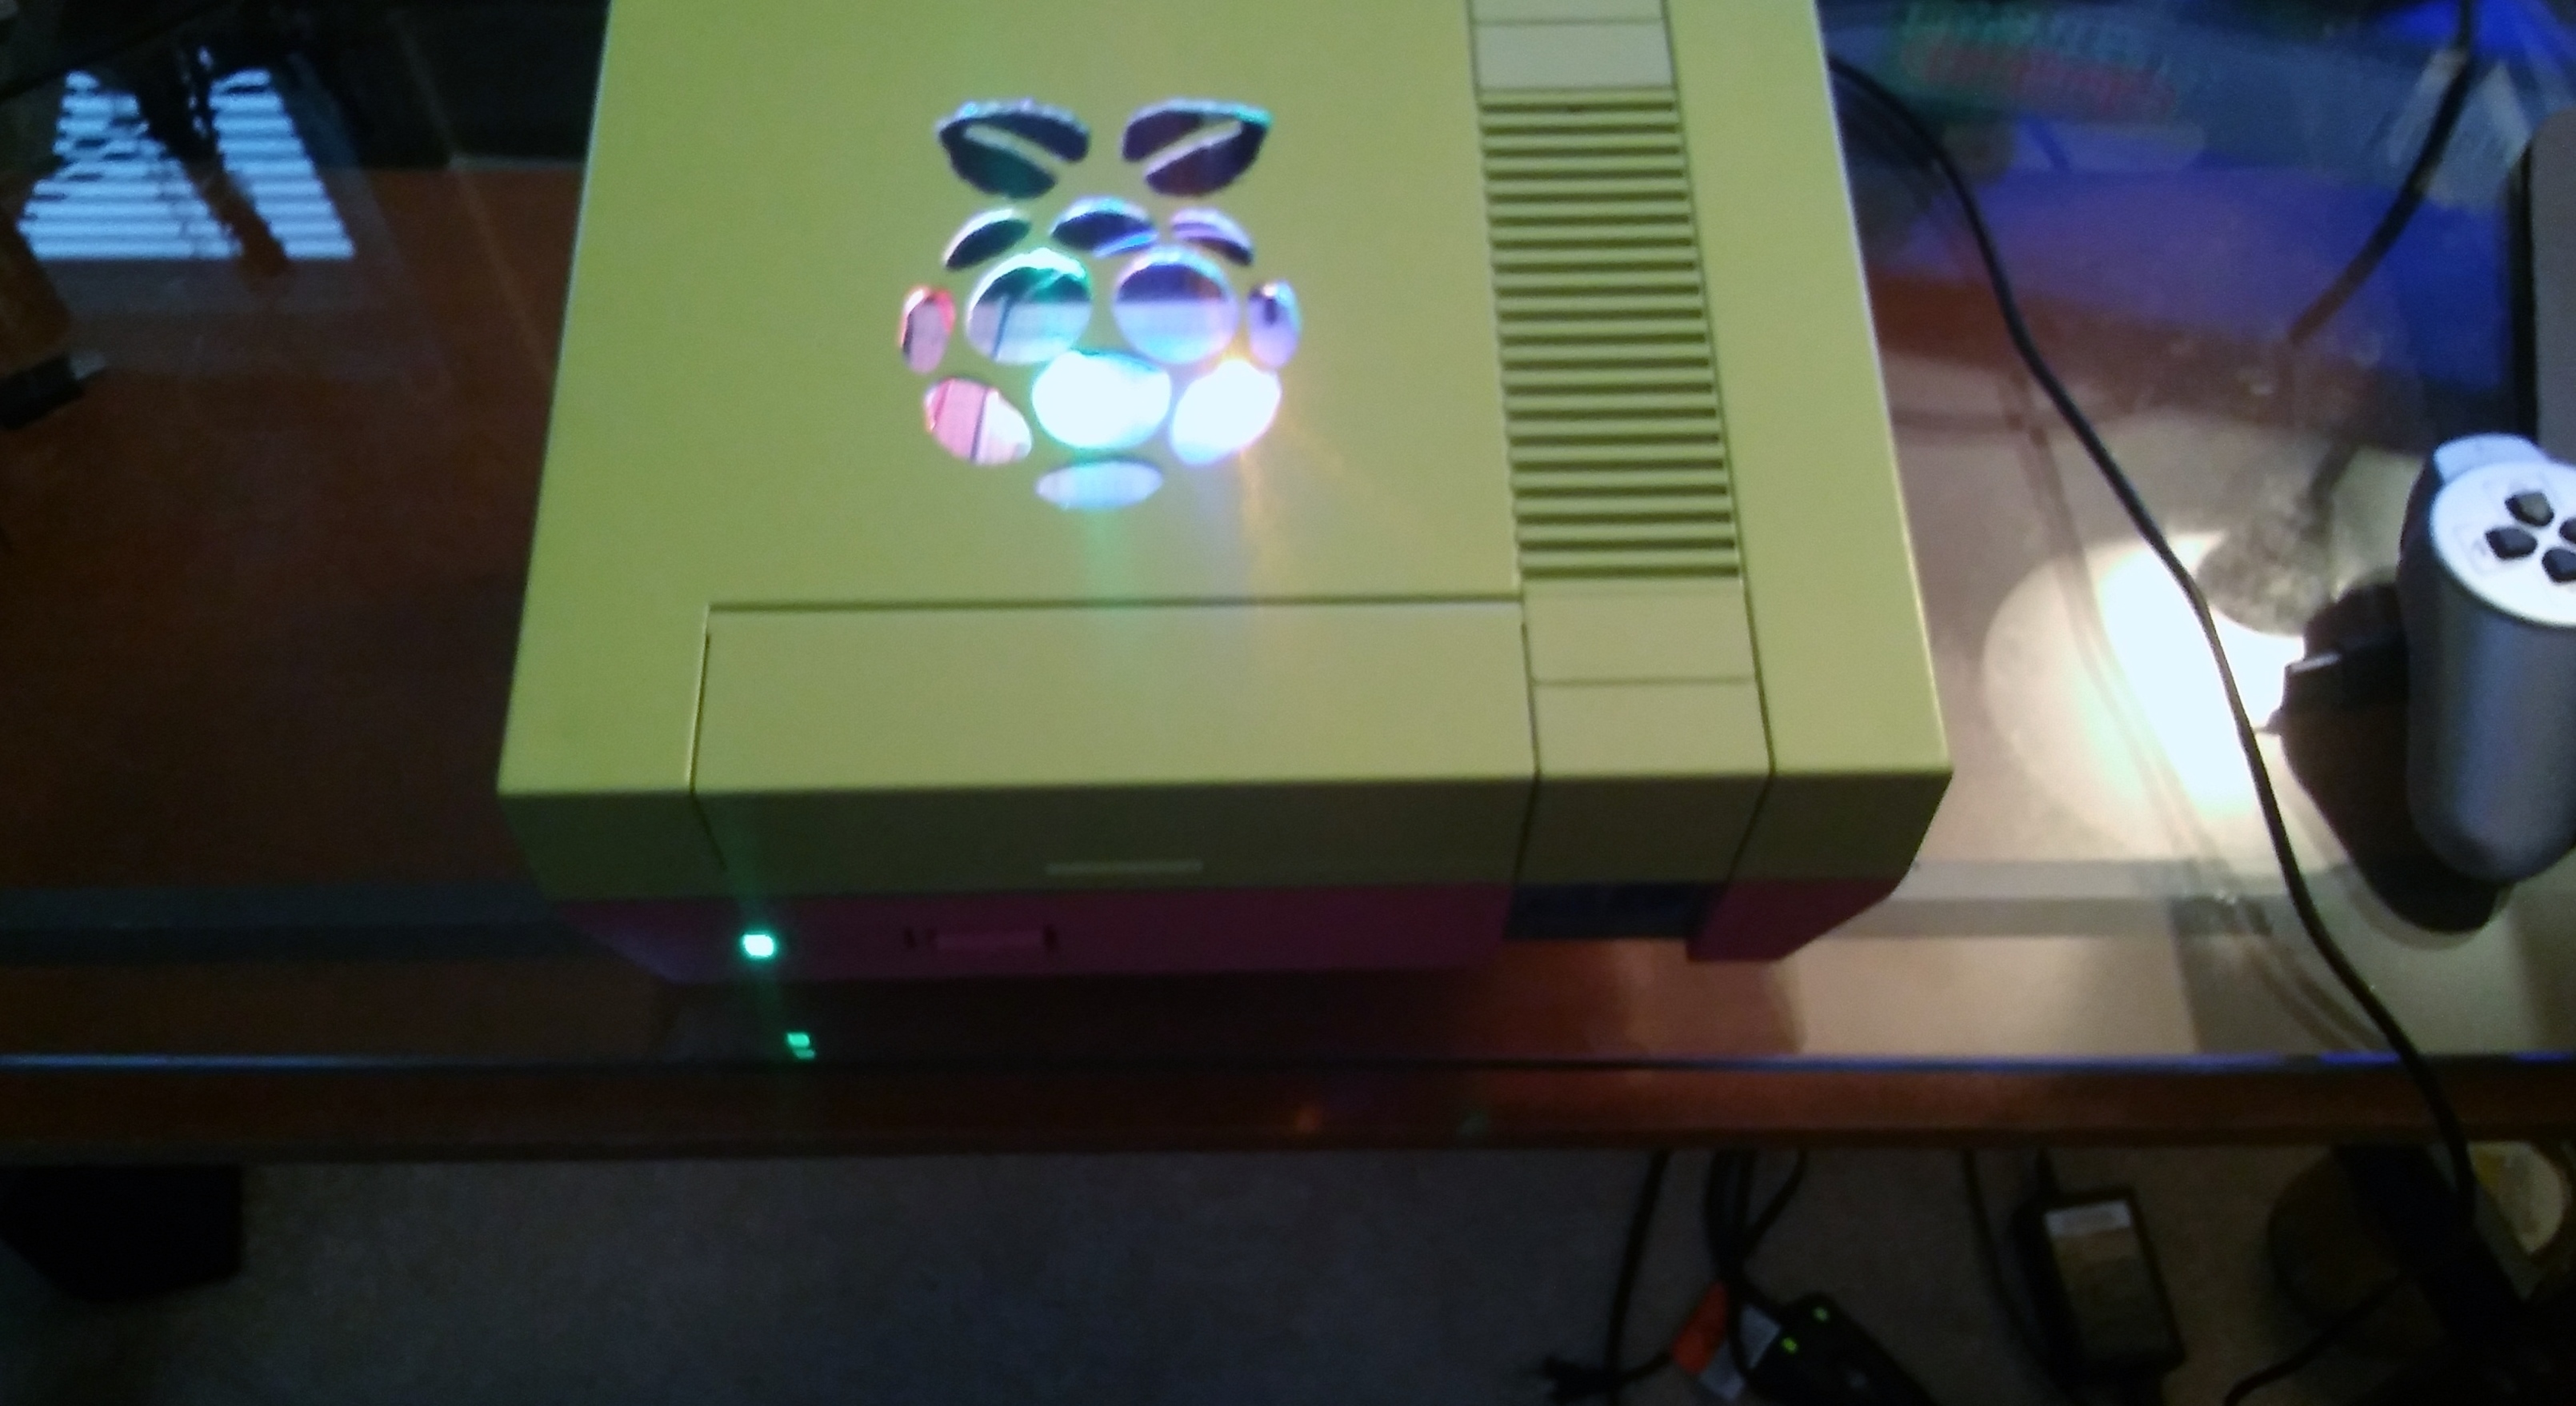
The retro station case is coming along. I’ll post pictures of that soon. I carbon copied the raspberry pi logo onto the case and dremeled it out. I found a piece of glass that’s the perfect size to attach on the underside to make a window. Then all the lights and hardware inside can be seen. That’s my vision.
For those interested in this build and want to make one of their own, I will be publishing an instructable in detail. That should be done sometime in October.
Still need to install the usb ext cords for controllers, glass for window, back panel for cords and ethernet ext cord. Almost done! 3 months later there’s light at the end of the tunnel. Had some problems with the Mausberry switch. Wires were moving around at the solder points, shutting off the pi…very bad. Once I got it positioned and twist tied there were no more issues.
I’ve been listening to several podcasts where people are talking about getting their NES modded with an RGB chip, and then running that through a Framemeister. It all ends up costing something like $500, where something like what you’re doing is way more economical, and a lot more flexible in my opinion.
As for the controllers, I highly recommend getting some 8bitdo controllers. I’ve finally gotten a couple of them hooked up via Bluetooth to my Pi, and they work great. Then you can get rid of those Playstation controllers!
Thanks! My build will probably be ~$350. It was all those $5 extension cords and misc stuff. It would’ve been cheaper to order parts from China and to buy the rp and cards separately instead of a kit which cost a decent amount. But I saved time that way, everything was preloaded, except for roms of course.
Still cheaper than the $500 RGB mod. Also people who do that still need to buy games. Only nes games too. I have a ton of consoles to choose from.
As for controllers i picked up some cheap…gasp! Wired buffalo usb game pads. My friend recommended them. They look like snes controllers. 5ft cord though. Should work fine but maybe blue tooth is the way to go.
That’s the key right there. Unless you’re doing an archival project, ROMS are the way to go.
I’ve heard the Buffalo controllers are fine. I have a couple of the 8bitdo ones, and they’ve got an amazing feel to them, and the bluetooth works well once you get it setup.
I’ll be interested to see your instruction write up when you’re done.
I used to be against emulation, as you might know, but folks on here, namely @Torgo have convinced otherwise. The big thing he said was that buying physical retro games doesnt help the developers any. They got paid years ago. You’re just helping some reseller by paying $600 for Little Samson. That said I like having my cartridges but collecting gobbles up lots of cash.
I just now checked out the 8bitdo pads. Look nice. Are they a pain to set up? Probably just a driver to install, my guess.
The instructable should be done end of this month or early next. Waiting on a few things. Just some extension cords.
The 8Bitdo SNES30 is definitely the way I’d go. Actually it is the way I’m going on the unit I think I mentioned to you that I’m building as a gift. The SNES30 combines the perfect aesthetic with the convenience of wireless. Such nice controllers. I want a pair and the wireless adapter from 8Bitdo for my actual SNES.
The console looks great. Really love what you’ve designed me. Really nice looking cutout on the top. Expertly done.
Two votes for 8Bitdo SNES30. Damn, wish I didn’t buy the others. I could resell them on ebay. I’ll try out what I have and if it’s too much of a pain with the cord then I might pick up the suggested ones. Before I do that, I have a few questions. Are they easy to set up? How do you assign controller number? How do you activate them after setup? In other words, the PS3 controller has the PS button to turn it on. Is there something like that for the SNES30? Thanks guys.[quote=“bmo, post:16, topic:805”]
The console looks great. Really love what you’ve designed me. Really nice looking cutout on the top. Expertly done.
[/quote]
Thank you! I put a lot of time and effort into it. It’s not perfect by any means, there are some slips of the dremel and bubbled paint but from playing distance it’s pretty solid. I would like some sort of opaque paint or something for the glass to diffuse the LEDs a little, to make the RP logo glow.
They’re not terribly hard to setup, but they’re kind of finnicky. There are quite a few good videos out there. The big problem is the first time you pair them, it seems like they take 4 tries before the pi sees them. The big key with the SNES30 is holding down the right bumper and the start button to turn it on. That puts it in the correct pairing mode for the Raspberry Pi. If you don’t do that, you’ll tear your hair out trying to figure out how to get the pi to see it.
I think the controller number is assigned based on the order you turn them on. They’re really easy to activate after setup. Just turn it on the same way you did when you paired it, hold the right bumper and the start button. The pi should just pair with it then. If you get the NES30 pro, there’s a power button on the bottom that you just turn on.
I wouldn’t worry about rushing out to get the 8bitdo ones if you’ve already got controllers. See if you like those first, then upgrade if you don’t. I’m sure they’ll do the job just fine. You know you’ll never lose power with a USB connection!
That’s true. Also I want to utilize the controller plug cutouts in the case. Sticking USB ports there would look sweet. I’ve done a ton of research for the project and there seems to be two classes of people who build these machines. Those who want to stick to the retro style (no paint, no USB controllers, AV hook ups all the way) and those who want to upgrade but still stay retro by using the case but that’s about it. I’m more of the latter. I already have an NES that’s staying original (except for the after market 72 pin connector) and two modified ones. [quote=“peter, post:18, topic:805”]
I wouldn’t worry about rushing out to get the 8bitdo ones if you’ve already got controllers.
[/quote]
I’m just worried about cord length. I’ll probably have to buy extension cords but that won’t be an issue…hopefully.
I agree with @Peter, unless you need wireless, the SNES30 isn’t necessary. I like the SNES30 because it is well designed and because my ideal setup involves hiding the RetroPie. Actually, my ideal setup for all of my machines would be tucked away, with wireless controllers for all. I wish 8Bitdo would release wireless adapters for more retro consoles. I’d love to use wireless controllers with my PS2, Genesis, and so on.